Easter Treat Bag Tags
This post contains affiliate links and I will be compensated if you make a purchase after clicking on my links.
Spring is here, and Easter is just around the corner! It’s the perfect time to get crafty and add a personal touch to your celebrations. If you’re looking for a fun project to spruce up your Easter treat bags, look no further! Today, I’ll walk you through creating adorable Easter treat bag tags using a Cricut machine. Plus, I’ll even provide you with a free printable template to get you started.
Getting Started
Before we dive into the crafting process, here’s what you’ll need:
- Cricut machine (I am using the Explore Air 2 but any other Cricut will work except for the Joy as you do have to print then cut)
- Sticker paper (https://cricut.com/en-us/materials/material-type/printables-stickers/printable-sticker-paper—us-letter-8-ct/2010355.html)
- Cardstock in the color of your choice (I used this pack which can be found on Amazon:
Amazon.ca – https://amzn.to/3TLtFPJ and Amazon.com – https://amzn.to/4anDVTK) - Printer
- Glue or adhesive
- Treat bags (I used these ones off Amazon – Amazon.ca – https://amzn.to/3Tz9Slk and
Amazon.com – https://amzn.to/4a0cfod)
Step 1: Designing Your Tags
First, let’s design the tags. I used Cricut Design Space to design my tags, I found the bunny and Happy Easter portion in the Images section of Design Space and I played around with the fonts and colors to create the wording (all fonts are noted in my Youtube video linked above).
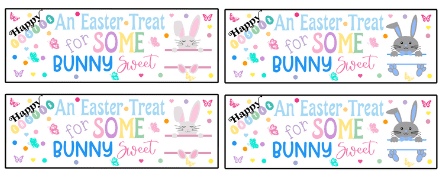
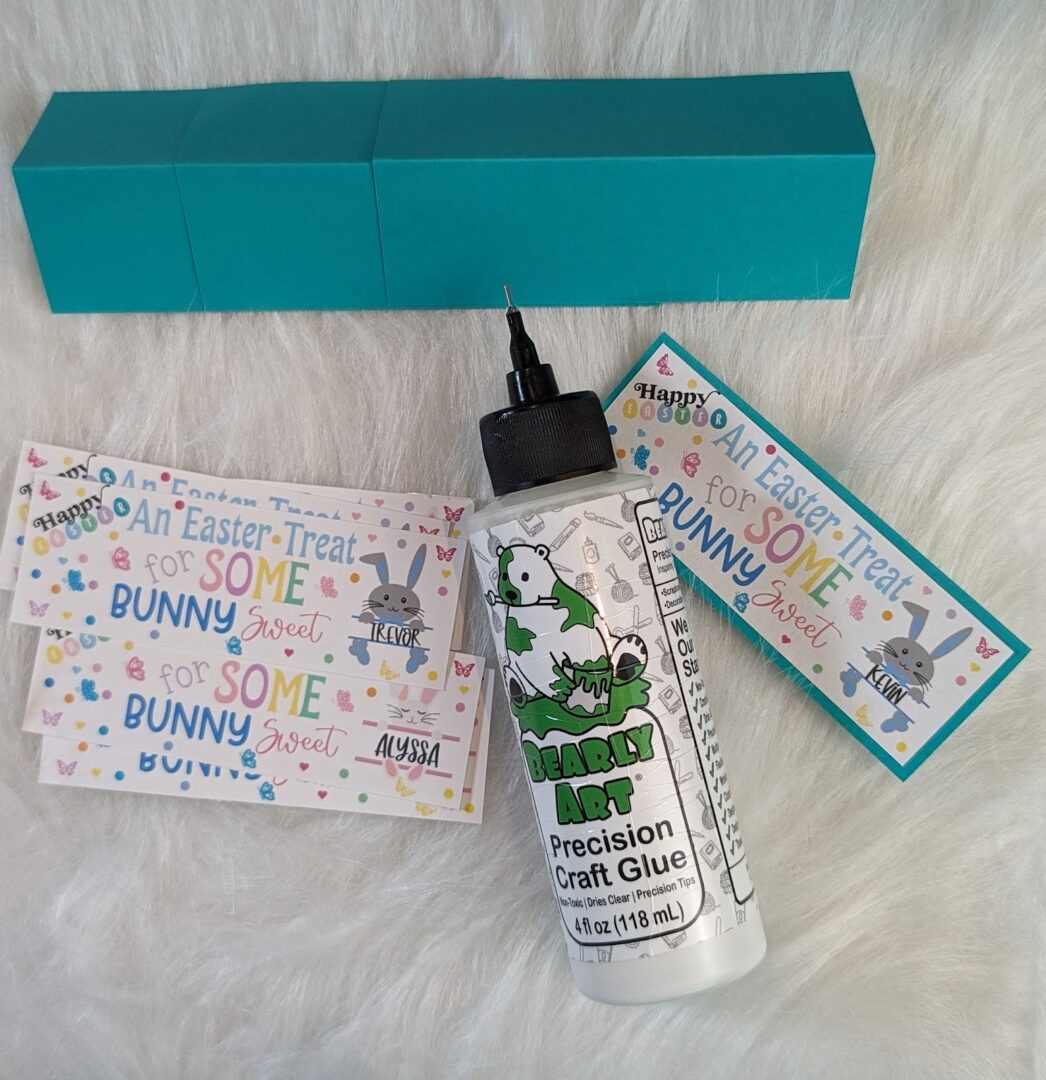
If you prefer a hassle-free option, feel free to download our free printable Easter treat bag tag template here. This template includes the designed portion with an empty space for a name together with the correctly sized cardstock portion. Feel free to cut the cardstock portion by hand with a measurement of 3 in. x 4 in. (this will be folded in half).
Step 2: Cutting Your Designs with your Cricut machine
Once you have your designs ready, it’s time to bring them to life with your Cricut machine. Print the label portion onto your sticker paper and then load it onto the cutting mat and follow the instructions on Design Space to cut out your labels. Make sure to adjust the settings according to the paper type you’re using.

Step 3:
After your designs are cut, it’s time to assemble the tag, if you used your Cricut to print the labels and cut the cardstock tags then fold the cardstock tags in half and add your label. If you’re using the free printable but not using sticker paper, grab your favourite glue (my fav as always is Bearly Arts Glue) and glue the label onto the cardstock tag.
Step 4: Attaching Tags to Treat Bags
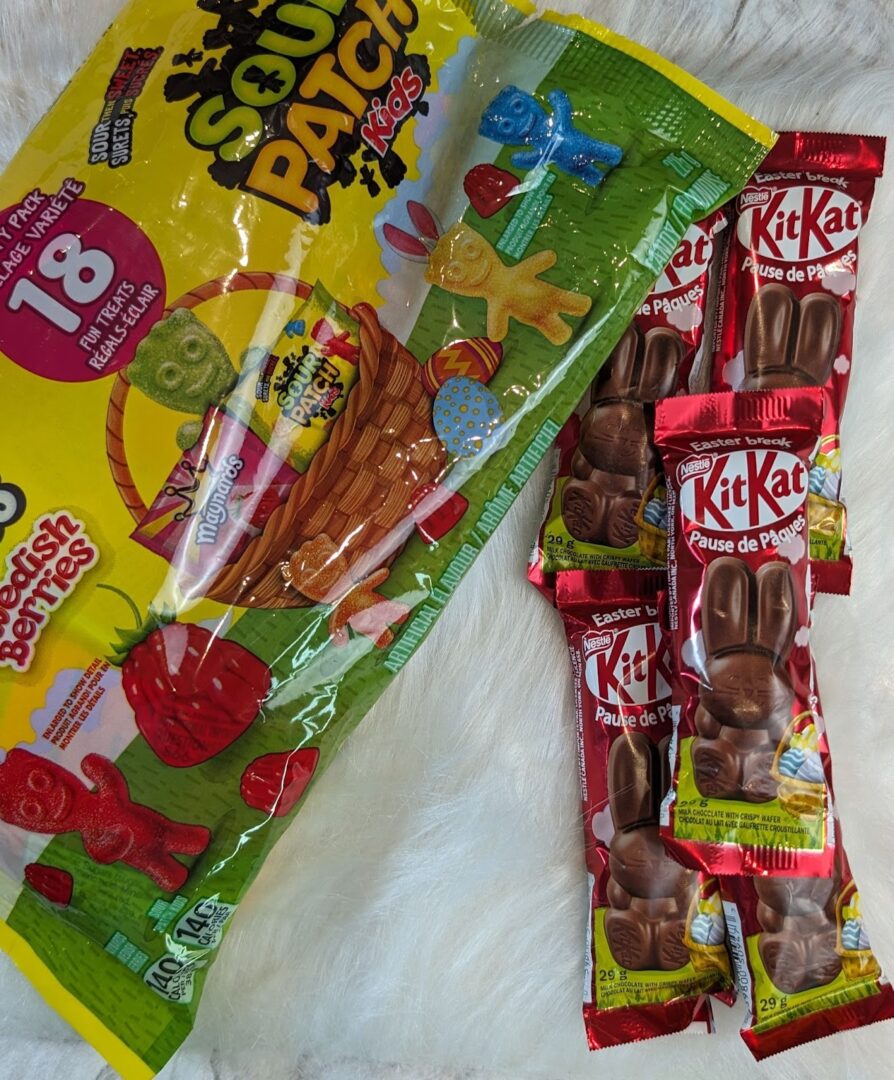
Now that your tags are ready, it’s time to attach them to your Easter treat bags (fill the bags up first with your treat of choice. I used one Kit Kat and one package of either Swedish Berries or Sour Patch Kids).
Simply add some glue to the inside of your folded cardstock tag and add it to the top of the bag until the glue sets.
Step 5: Sharing Your Creations
Once your treat bags are tagged and ready to go, share them with friends, family, or neighbors. These personalized Easter treat bags are sure to bring joy to anyone who receives them!
Creating Easter treat bag tags with your Cricut machine is a fun and easy way to add a personalized touch to your holiday celebrations. Whether you’re making them for your own family or gifting them to others, these DIY tags are sure to be a hit. Don’t forget to download our free printable template to get started on your crafting adventure! Happy Easter crafting!