How to make Shaker Hearts (or shapes) from start to finish

Crafting has the power to bring joy and creativity into our lives, and what better way to express your love than by creating shaker hearts using your Cricut machine? In this blog post, I’m taking you through a fun and simple tutorial on how to make these delightful shaker hearts using cardstock and acetate. Right from the beginning, designing it on Design Space, cutting it, and putting it together!
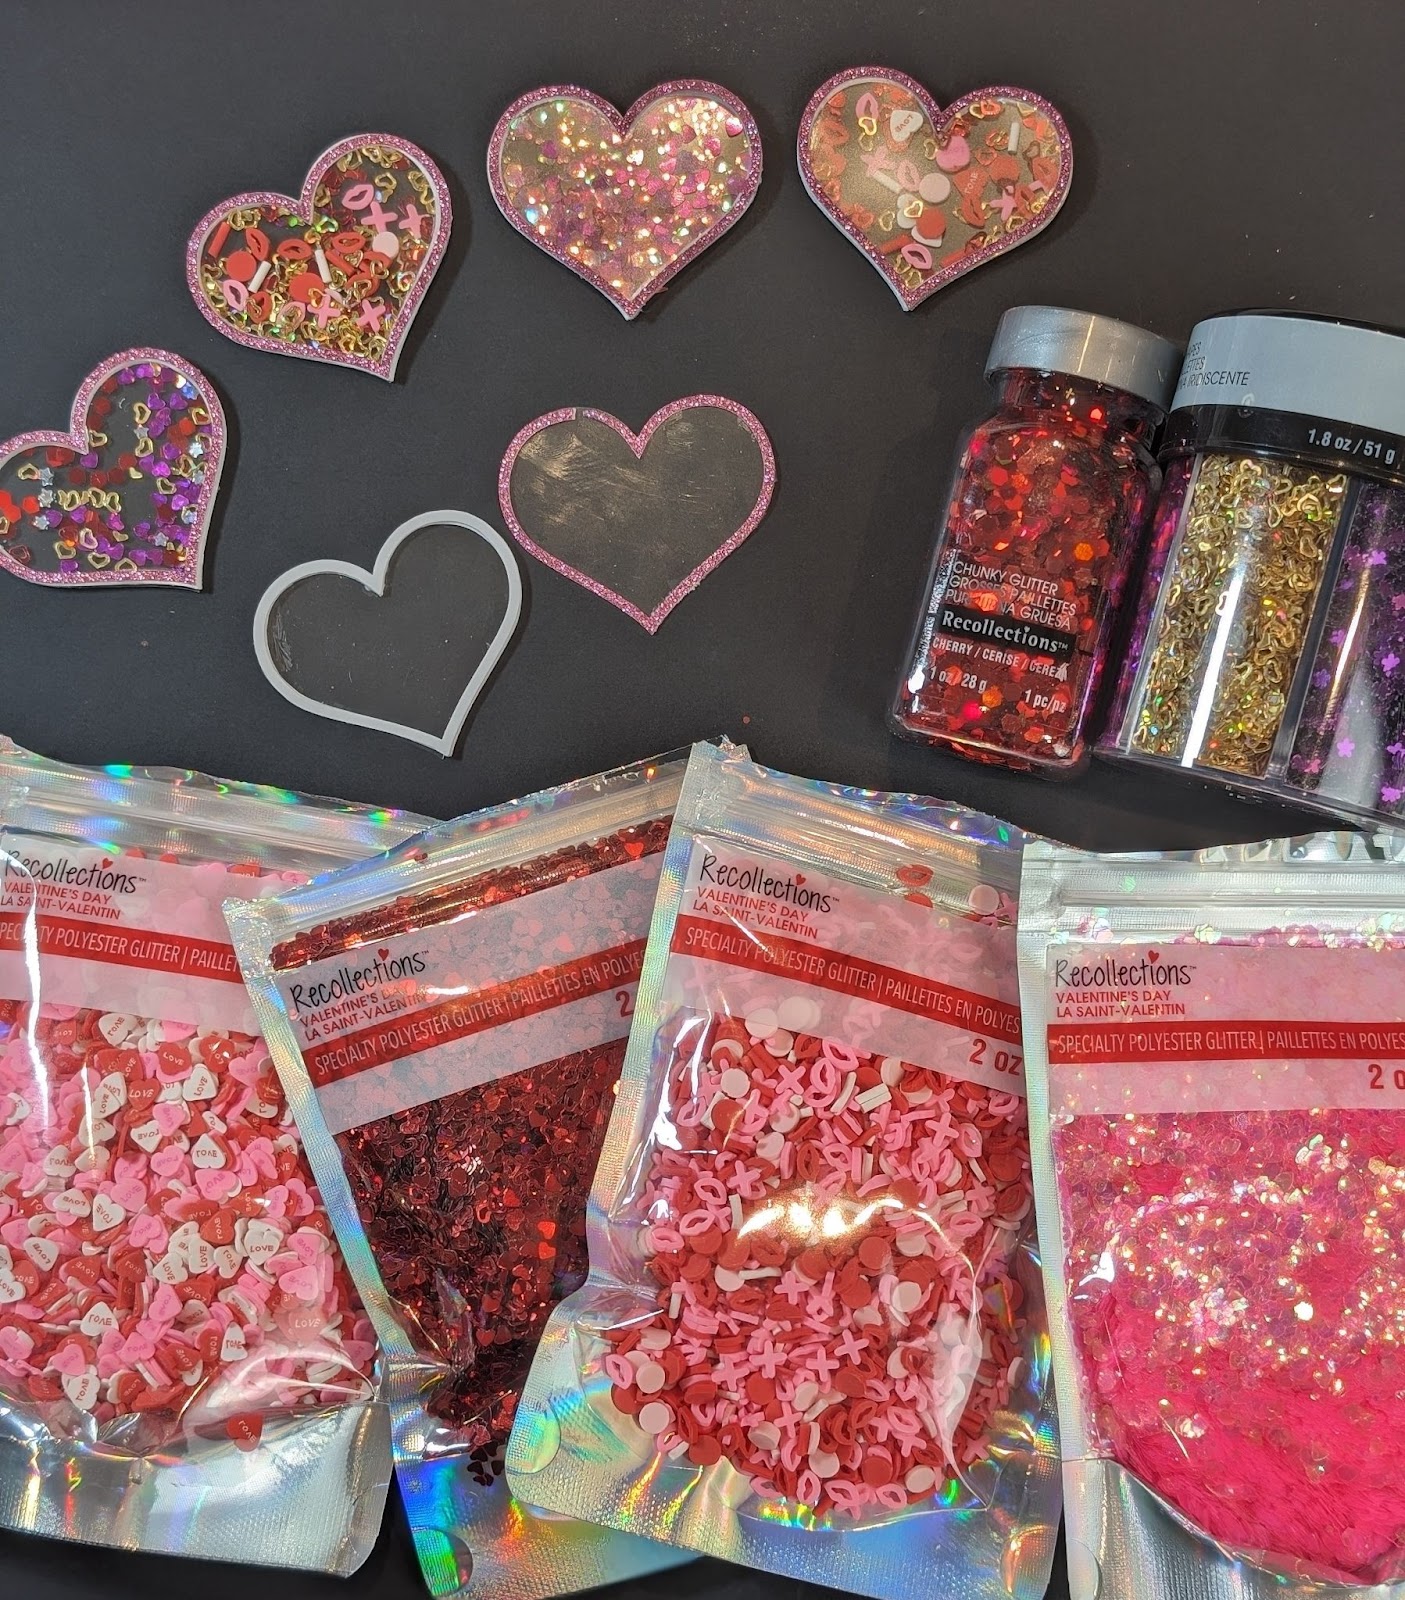
Materials Needed:
- Cricut machine/Design Space (Access isn’t necessary)
- Cardstock in various colors (I used white for the raised part and pink glitter for the outline)
- Acetate sheets
- Glue (my fav is Bearly Arts and use the fine tip) – https://bearly.art/collections/precision-craft-glue
- Small paint brush (this is so helpful to use when putting the pieces together)
- Adhesive foam tape (could be used in place of the white cardstock, I prefer using the cardstock)
- Sequins or confetti
- Spatula tool (for ease of getting material off mat)
- Cricut cutting mat (a good sticky one)
- Heart-shaped design (available in Cricut Design Space or create your own)
Step 1: Design Your Heart:
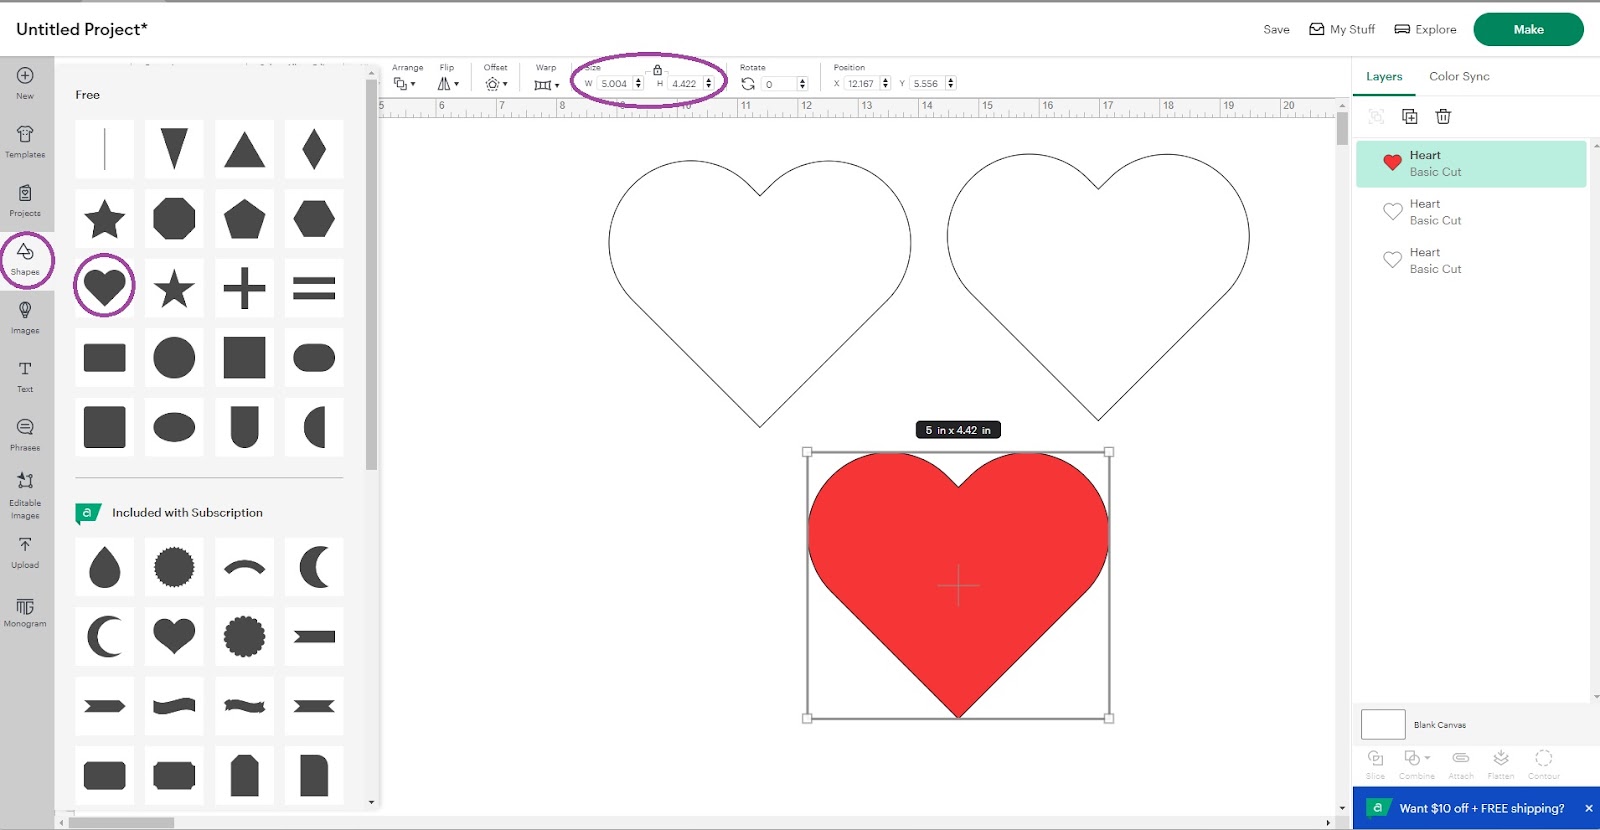
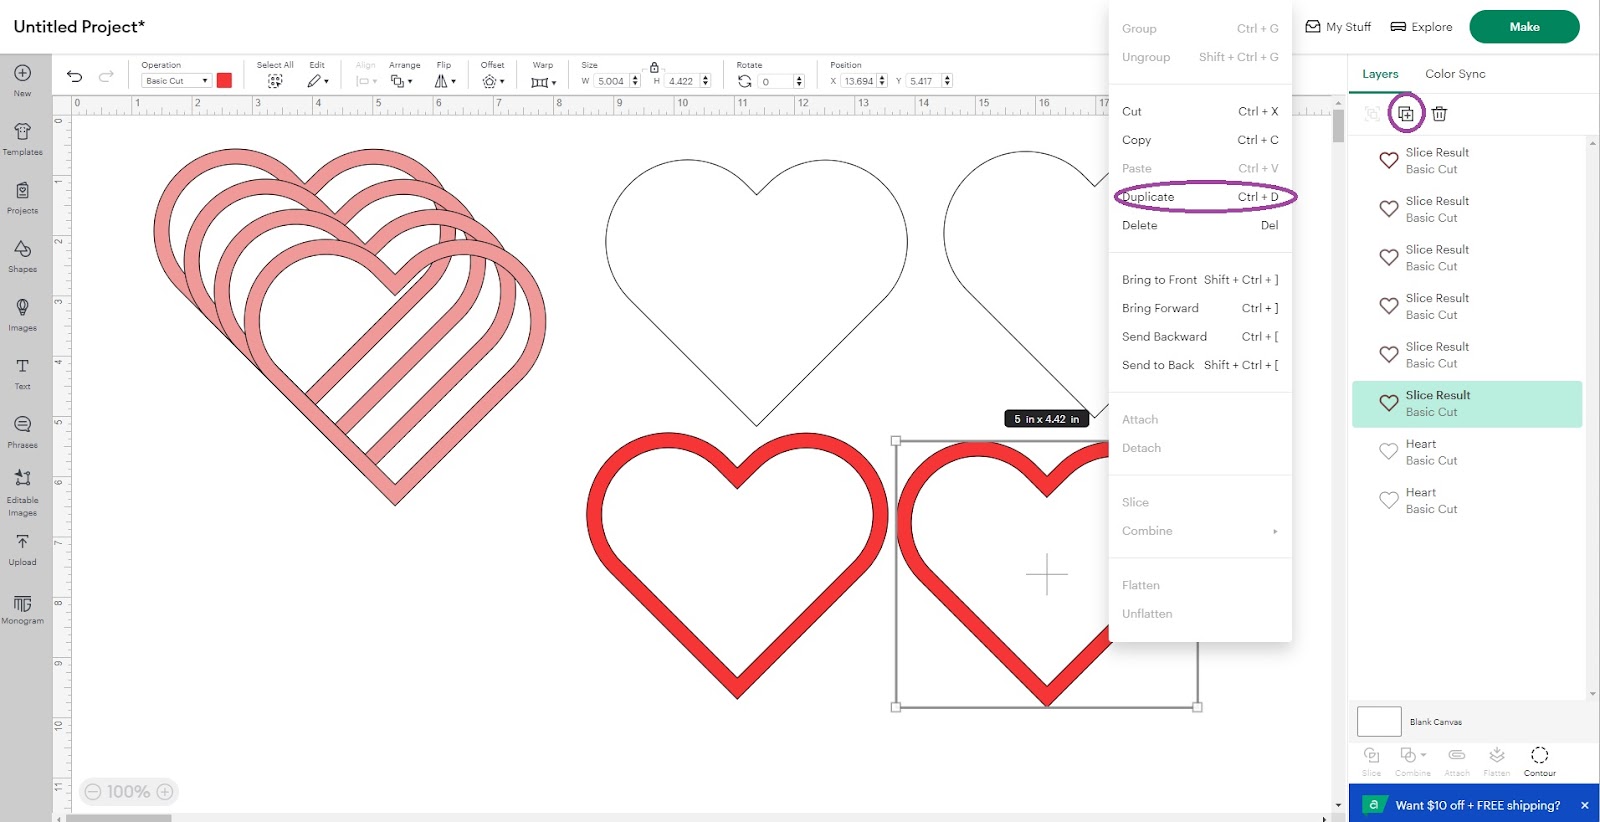
- Start by selecting or creating a heart-shaped design in Cricut Design Space. Adjust the size to your preference and ensure it fits within the cutting dimensions of your Cricut machine, duplicate this heart until you have 3 hearts in total on your canvas (for the purpose of this tutorial I will make it 5 inches), 2 hearts will be white to signify that will be cut with acetate and the other one the colour of your choice:
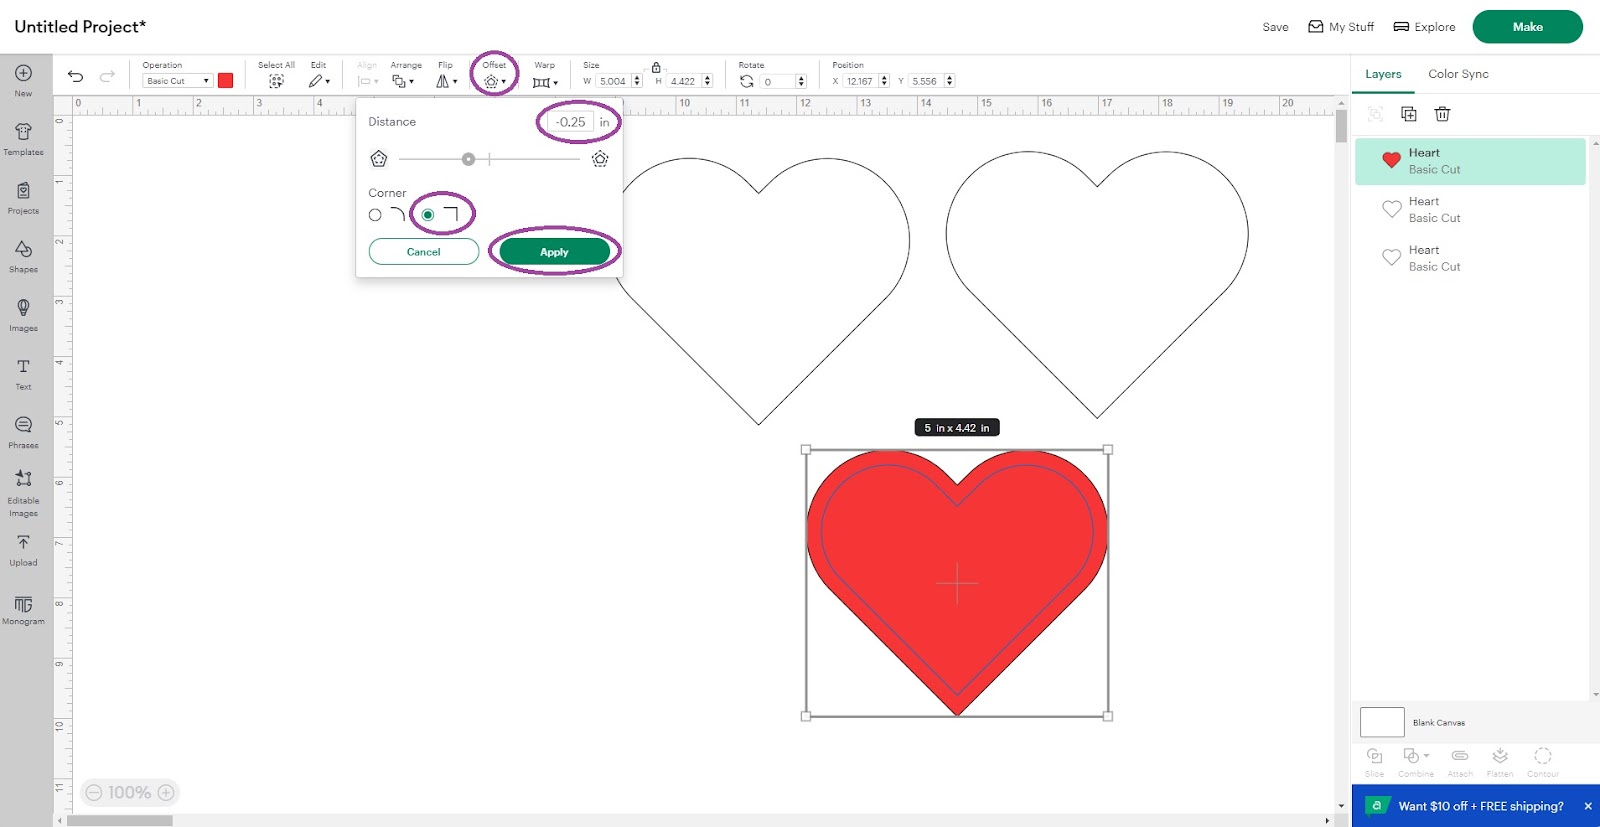
- Select the coloured heart and offset it -.25 with square corners and apply:
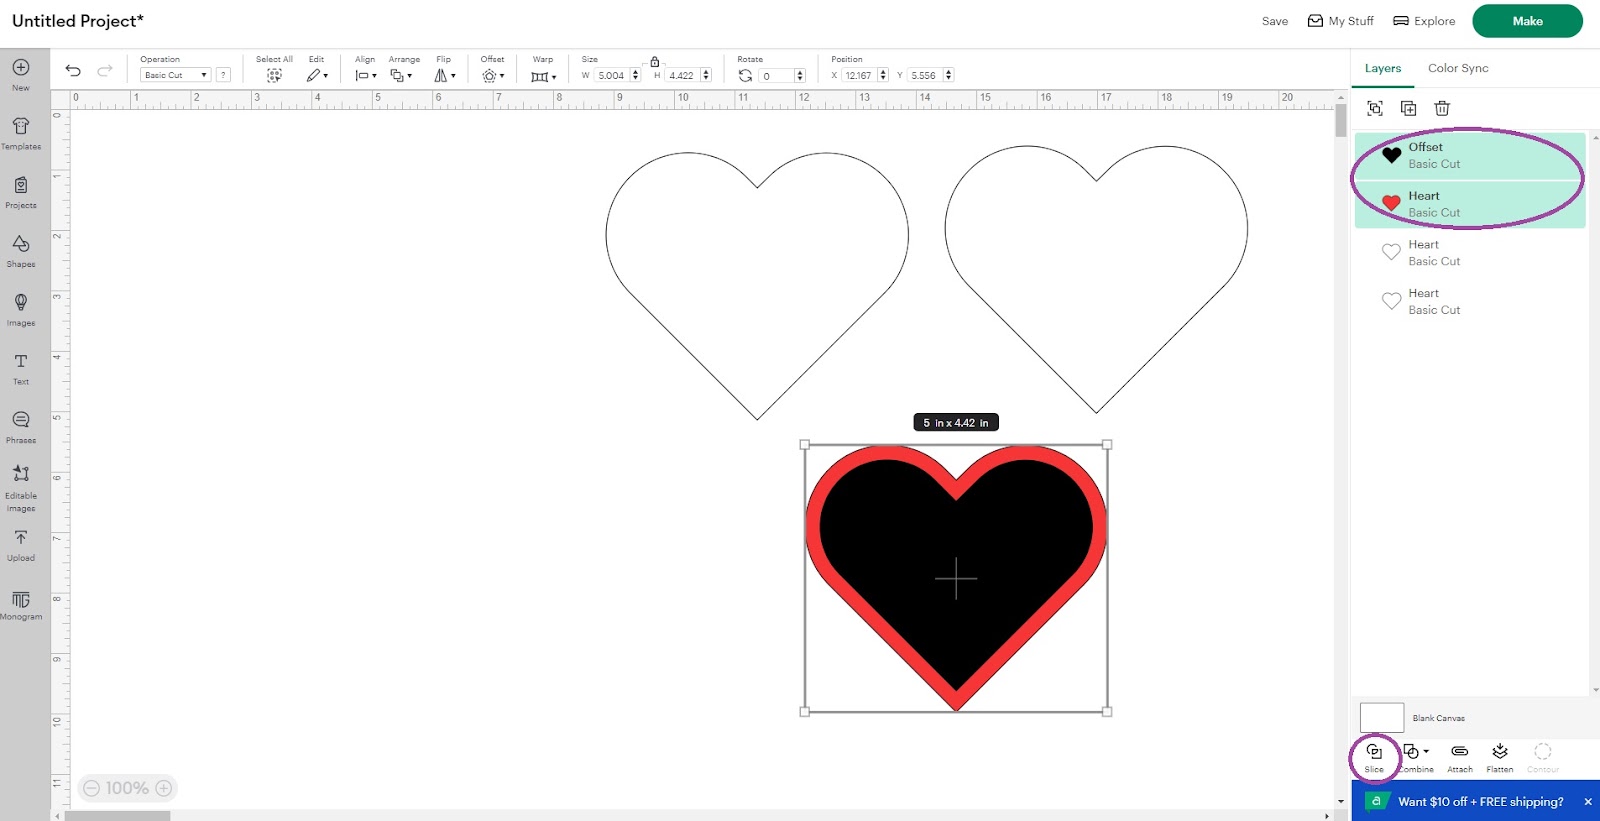
- Select the 2 hearts (the original image and the offset) and click on Slice:
- Delete the offset and the sliced heart:
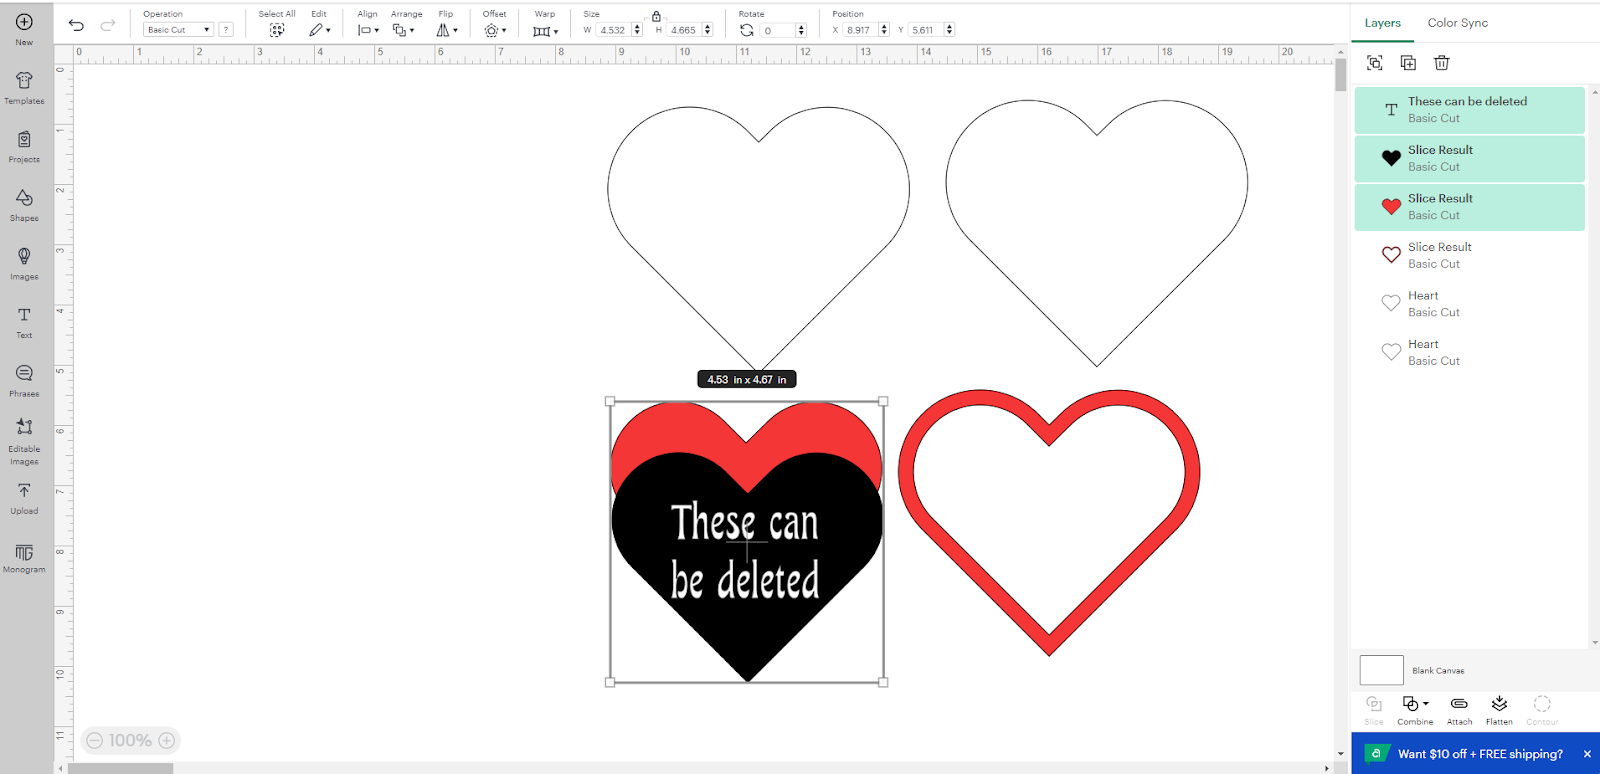
- Duplicate the outline of the heart (you can right click on your mouse and click duplicate or click on the + sign as circled below), 4 times for the raised effect and make that its own colour, 2 times for the glitter outline also in its own colour (this is how you will let Cricut know what part to cut on what cardstock):
Step 2: Prepare Materials
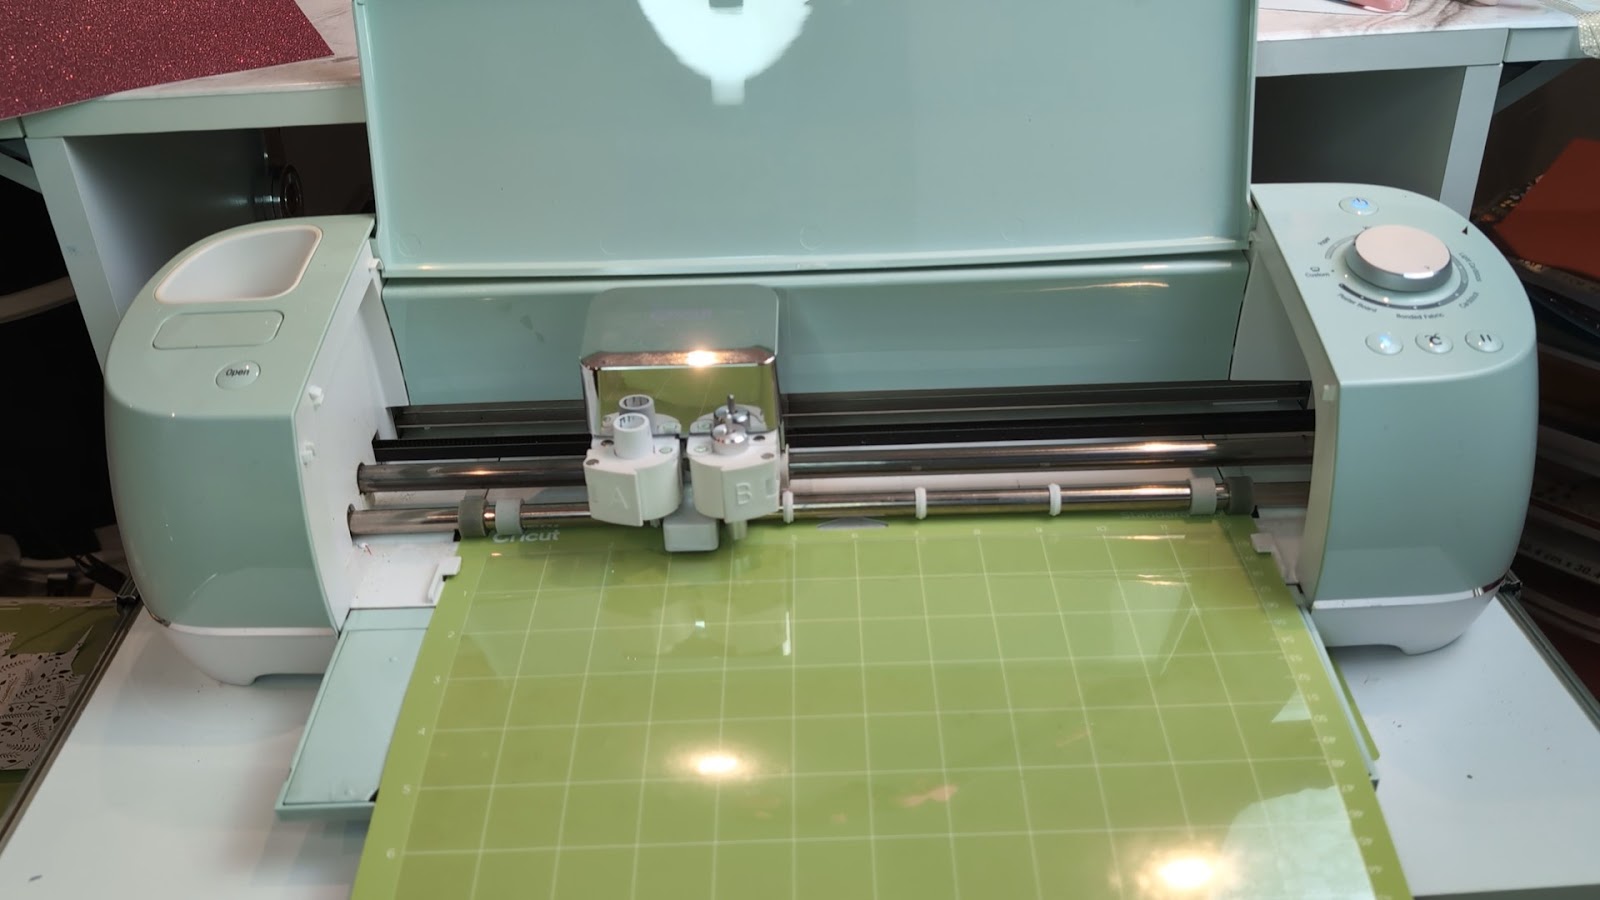
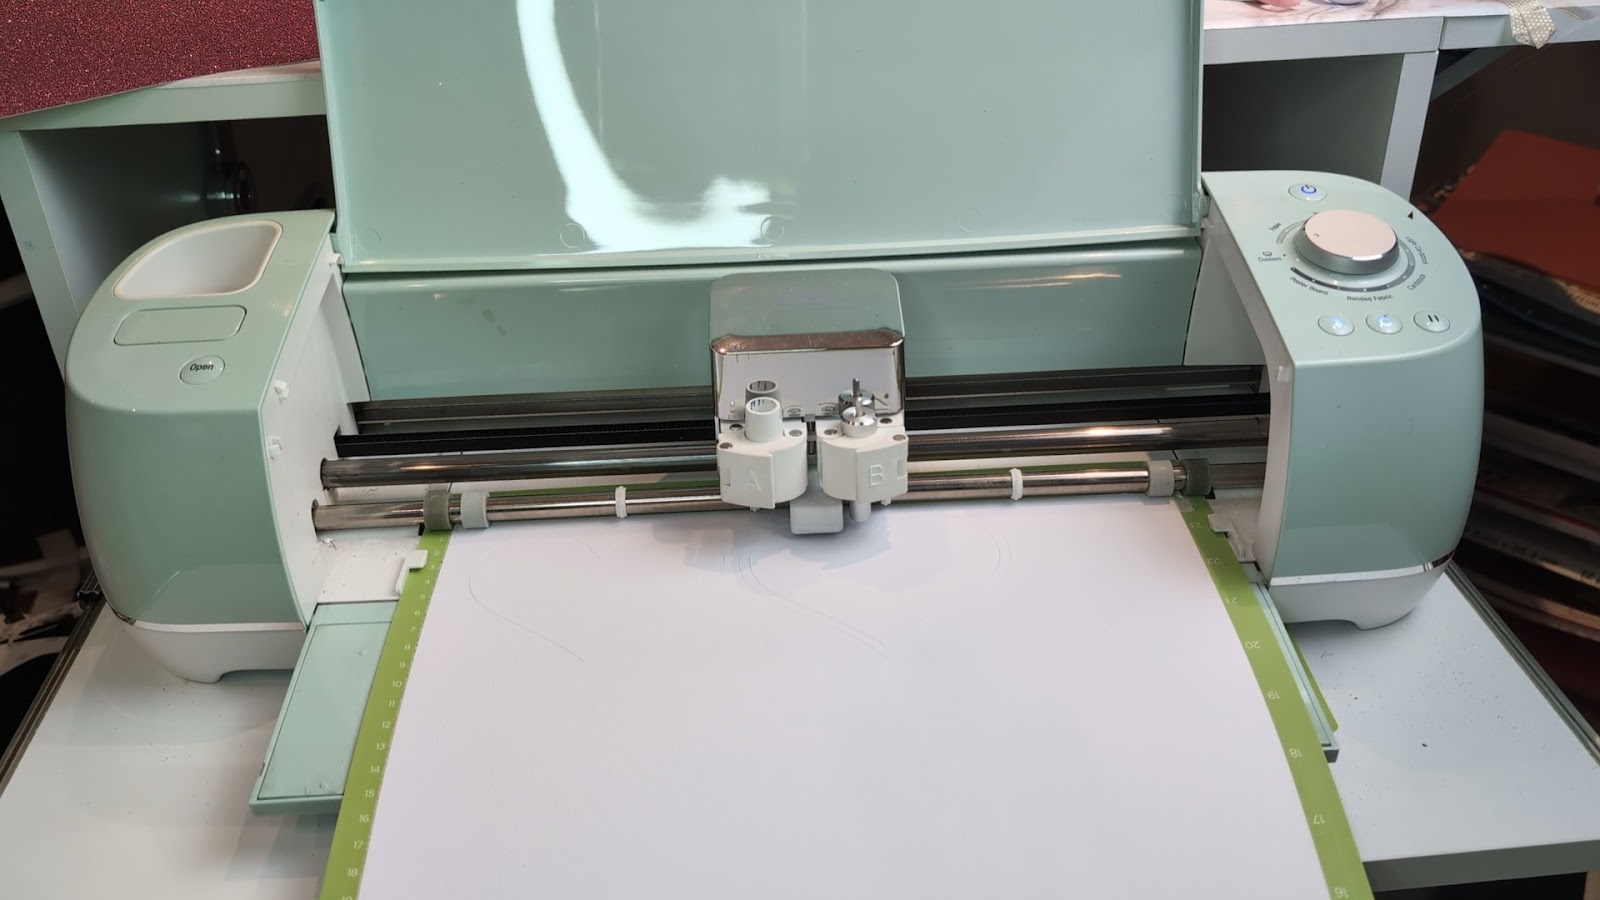
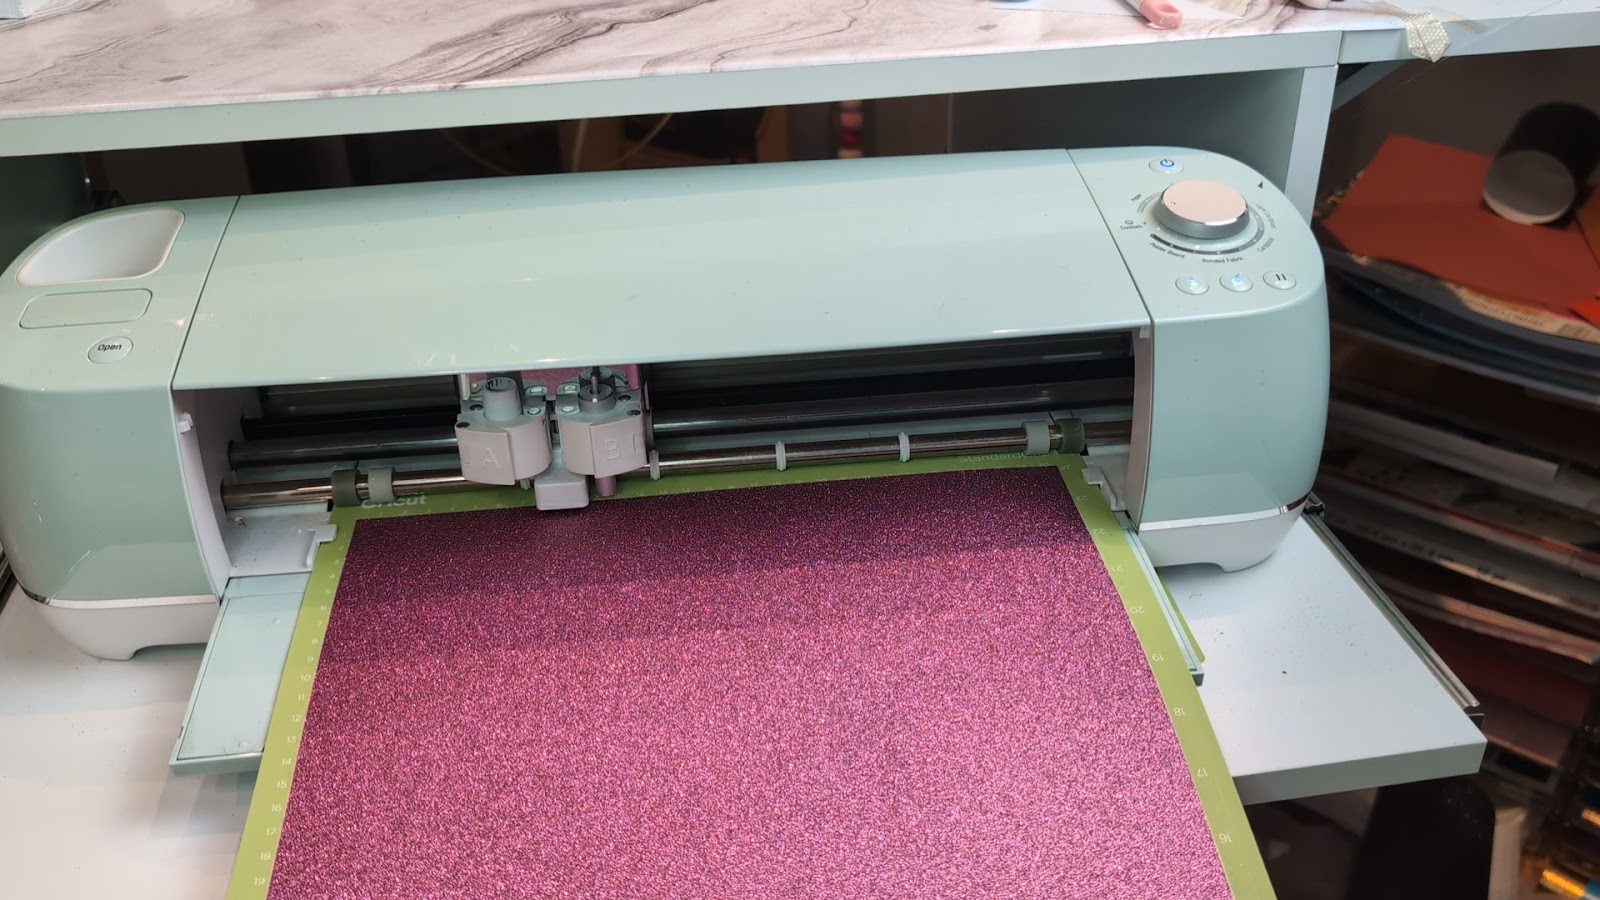
- Load your chosen cardstock colors and acetate onto the appropriate Cricut cutting mats. Place the mats into the machine, ensuring they are secure. From Cricut Design Space, send the heart-shaped design to your machine for cutting. Watch as the Cricut precisely cuts out the hearts from the selected cardstock colors. Once complete, carefully remove the cutouts from the mats (use the spatula tool as necessary).
 |  |  |
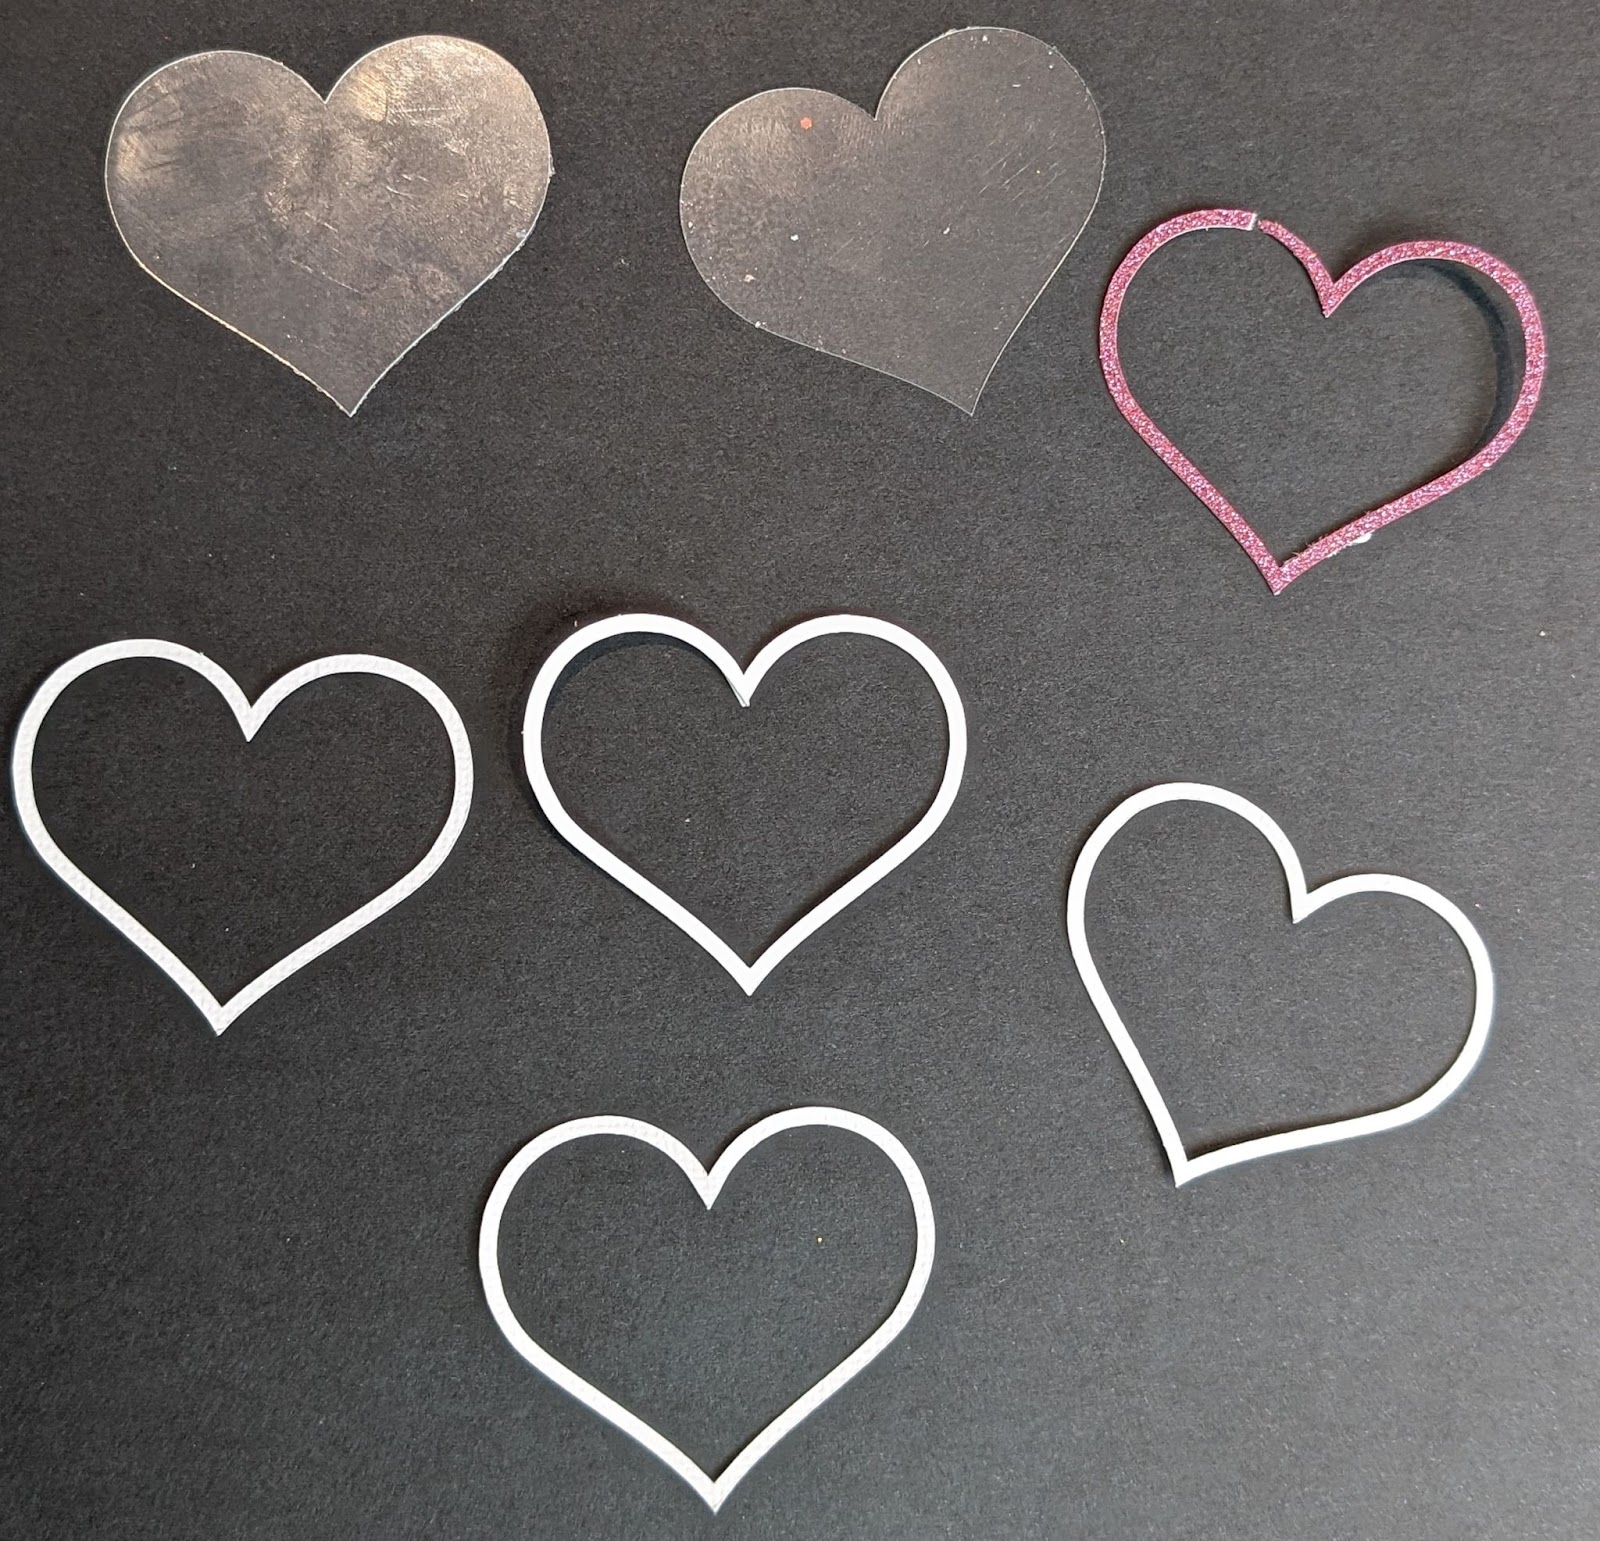
- Once cut, you should have 2 full acetate hearts, 4 white outline hearts and 2 outline hearts in the colour of your choice (I lost one of my own that’s why it isn’t in the picture haha):
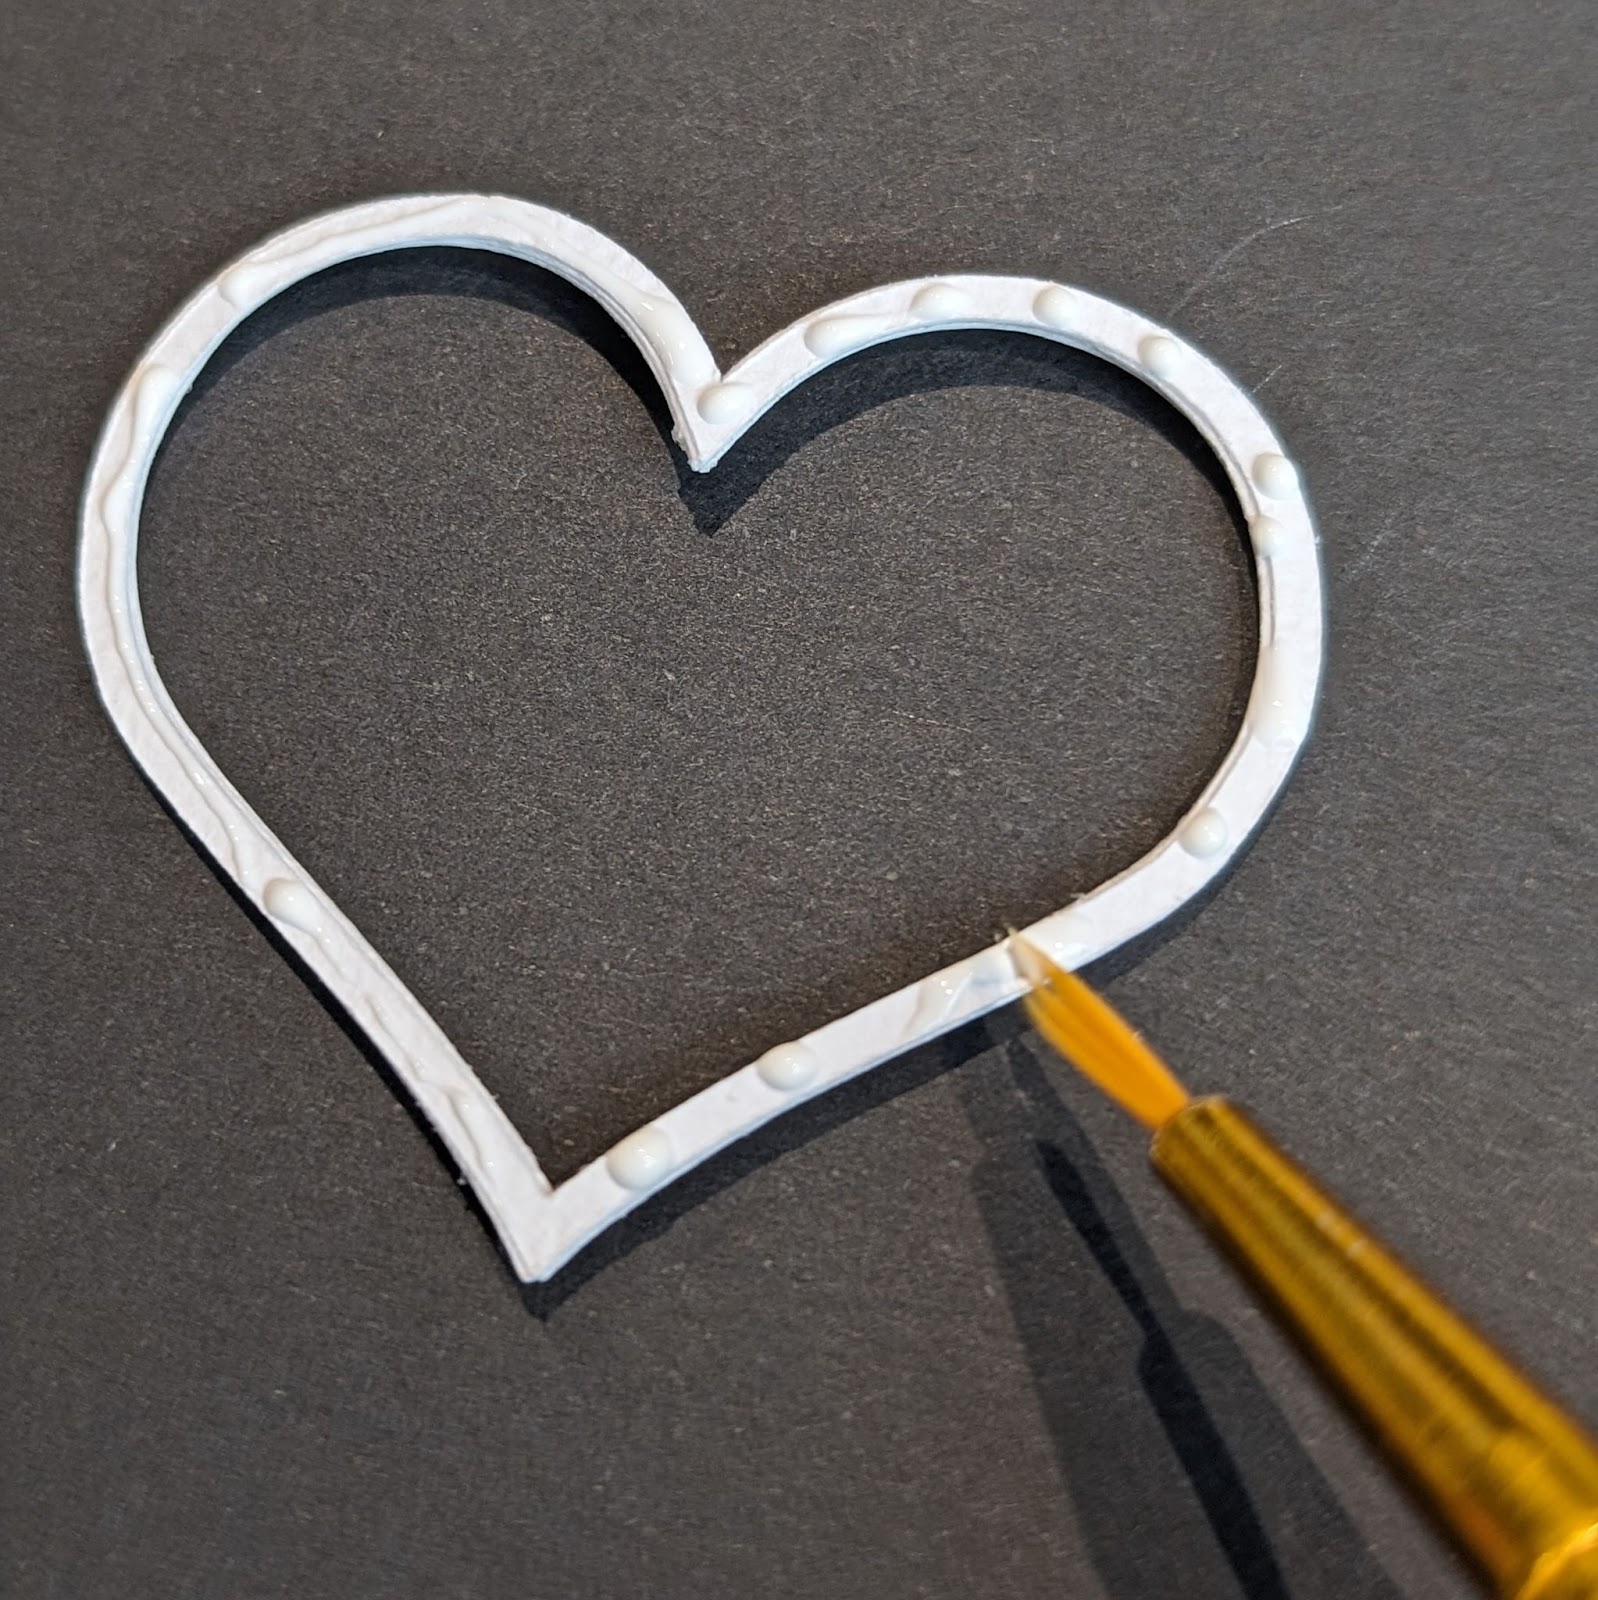
Step 3: Apply Adhesive
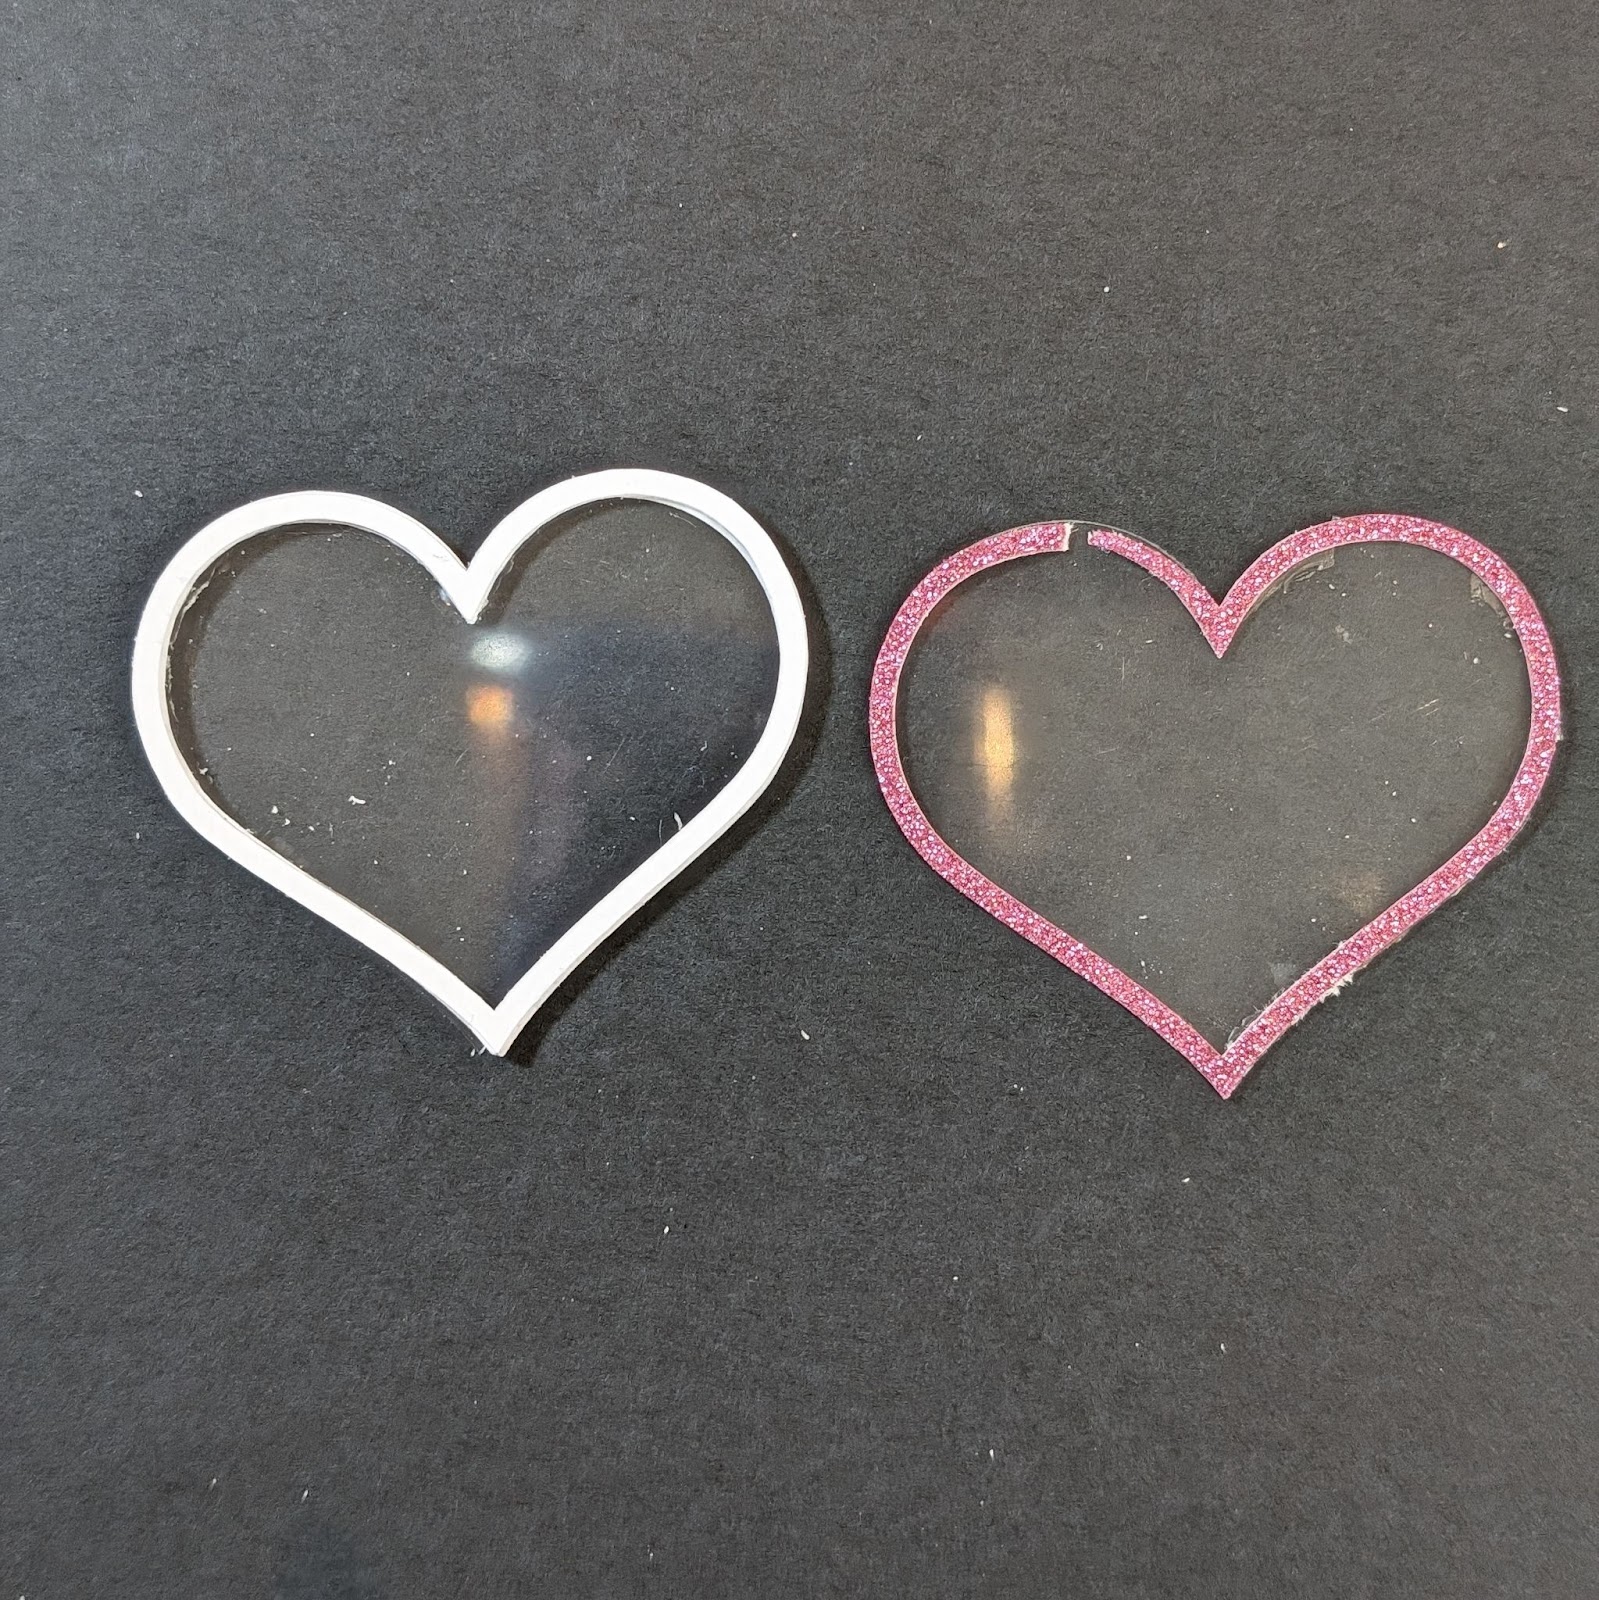
- This is important, you don’t want glue to end up on the acetate where it will be seen. I glued the 4 white hearts together first, once glued, I used a very small paint brush to add the glue to the stack of white hearts and placed the acetate heart on it, I also glued my glitter heart onto the top piece (the last piece left) of the acetate before putting it on top of the stack of hearts.
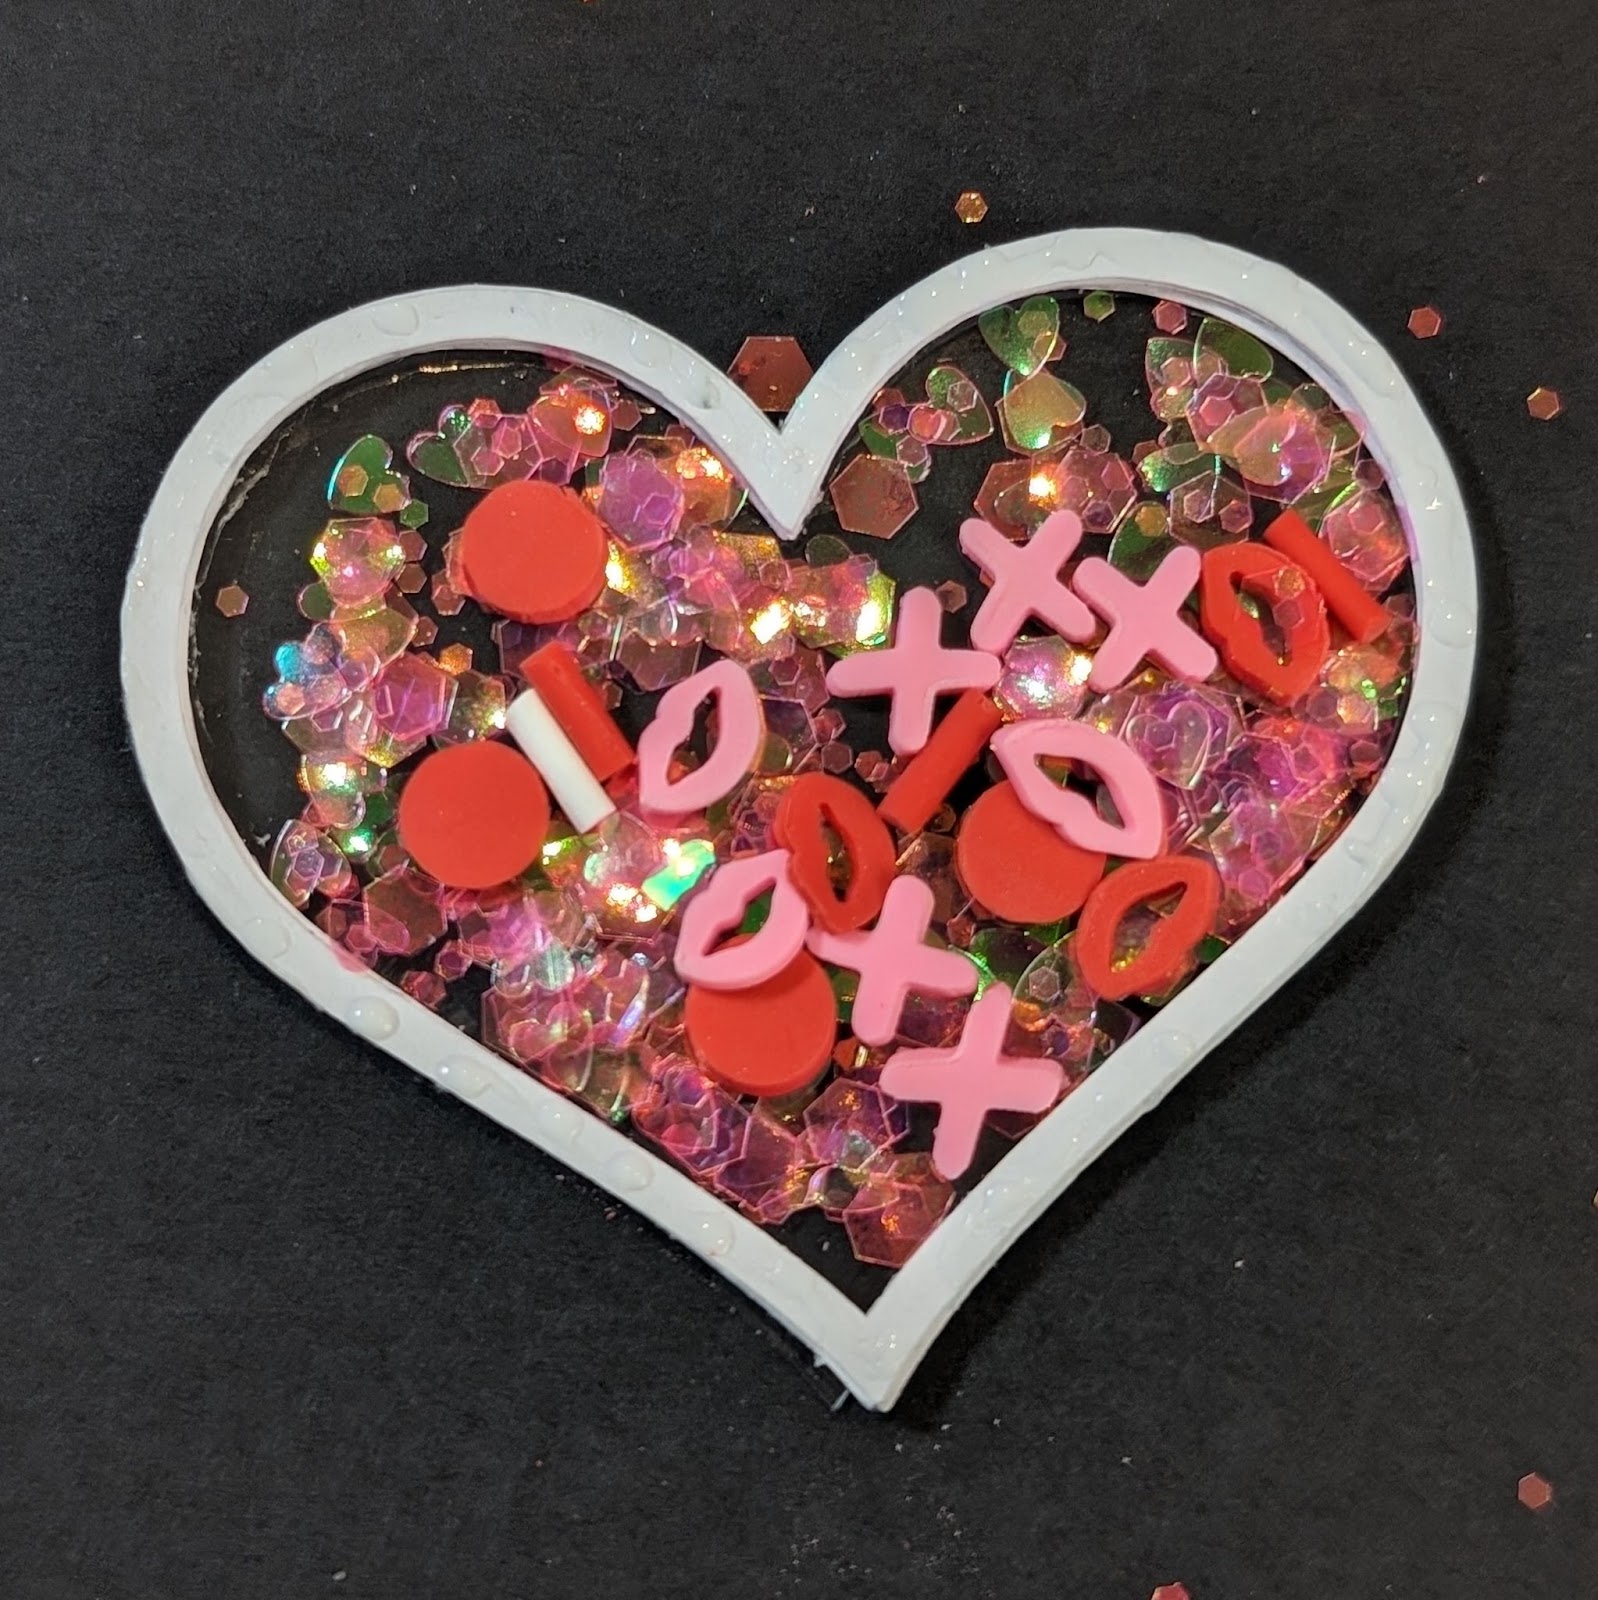
Step 4: Build the Shaker
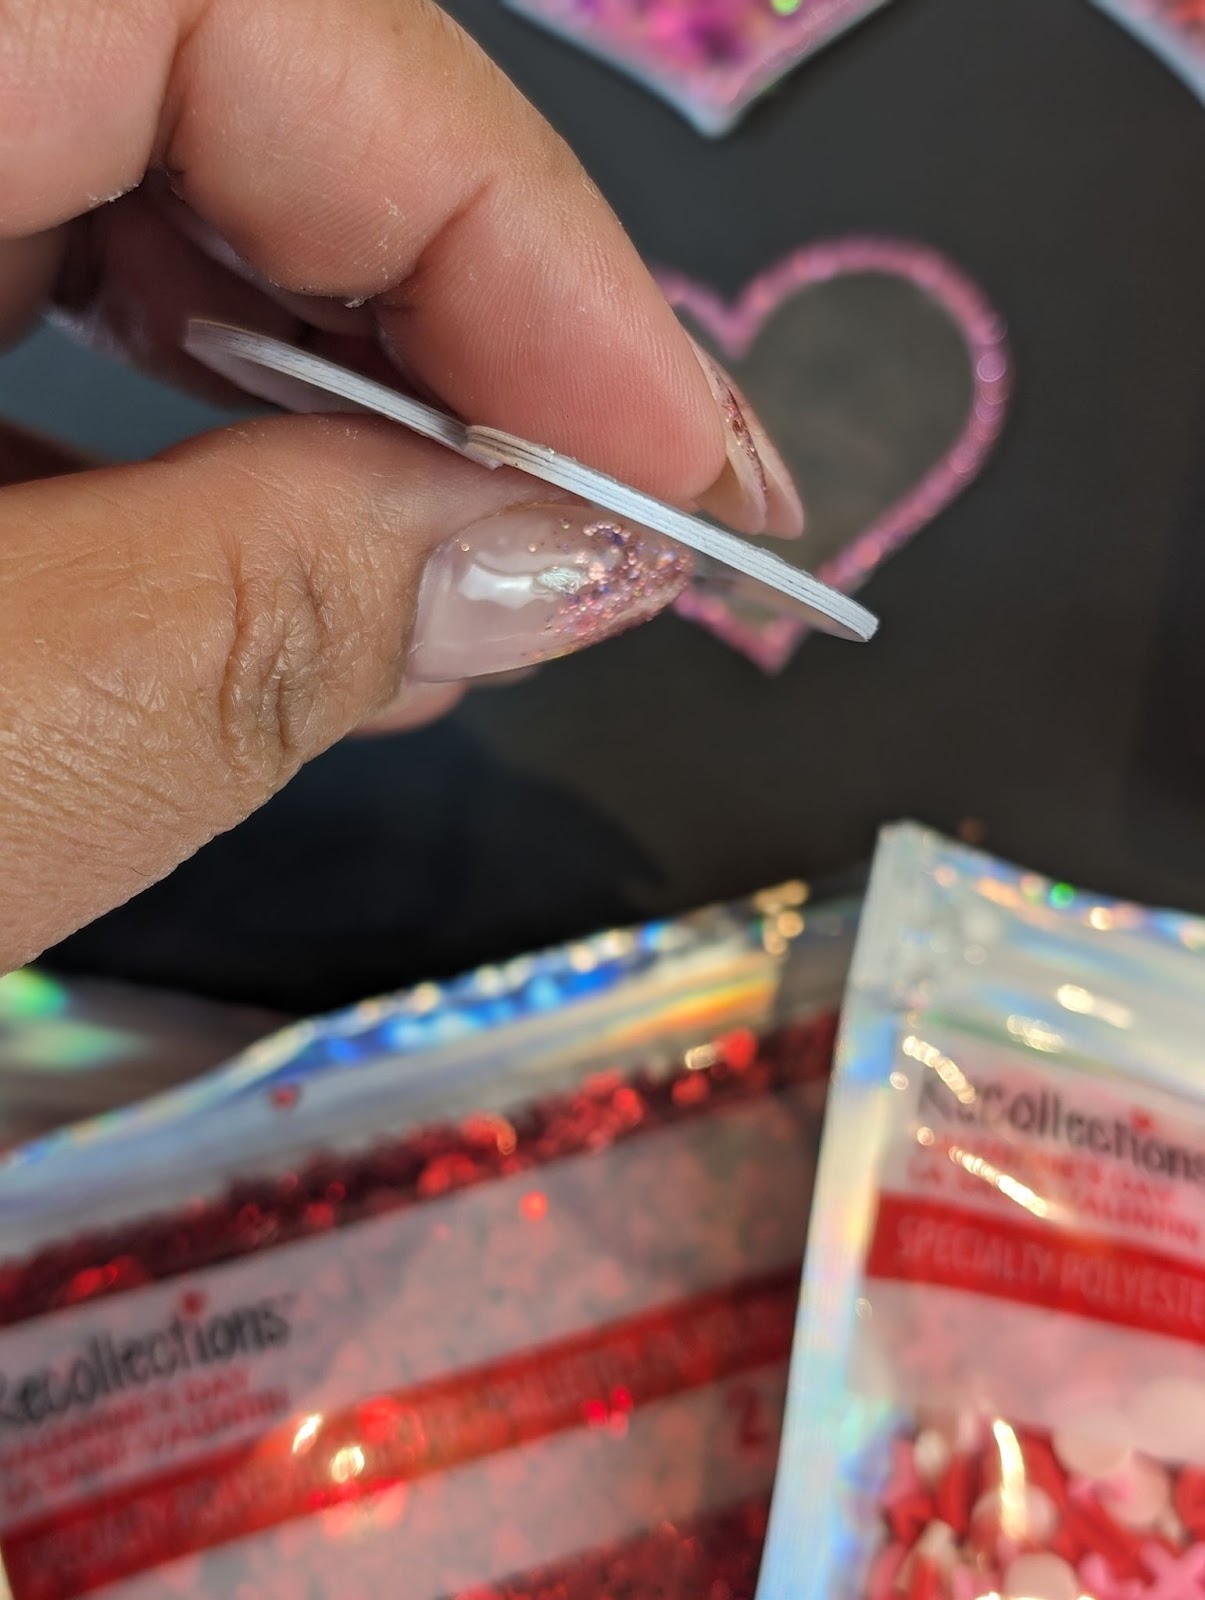
- Once your 2 parts of the shaker are dry, add your glitter of choice to the centre of the heart and glue the top acetate onto the bottom:
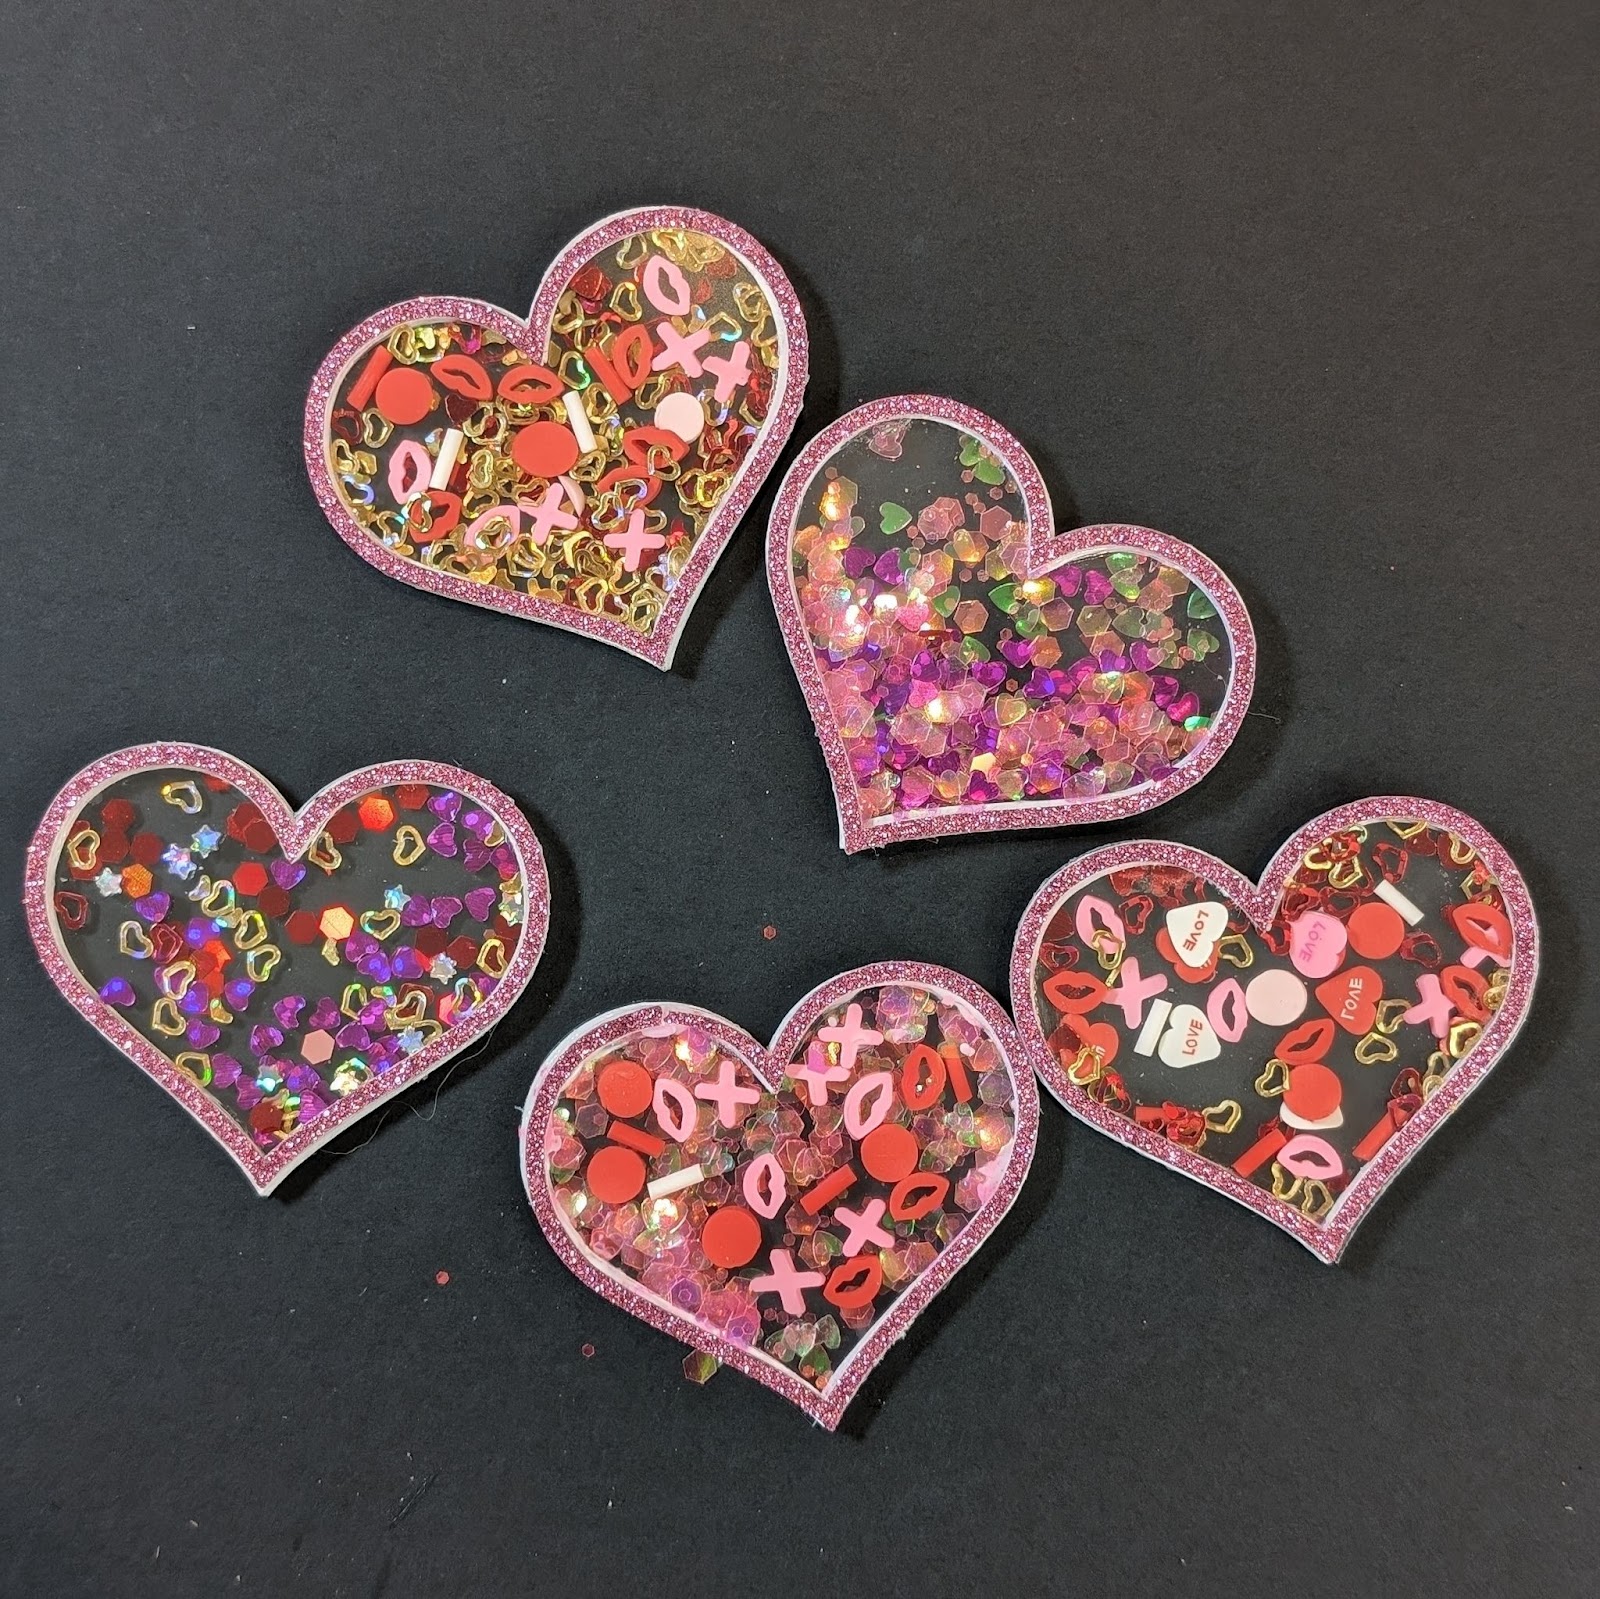
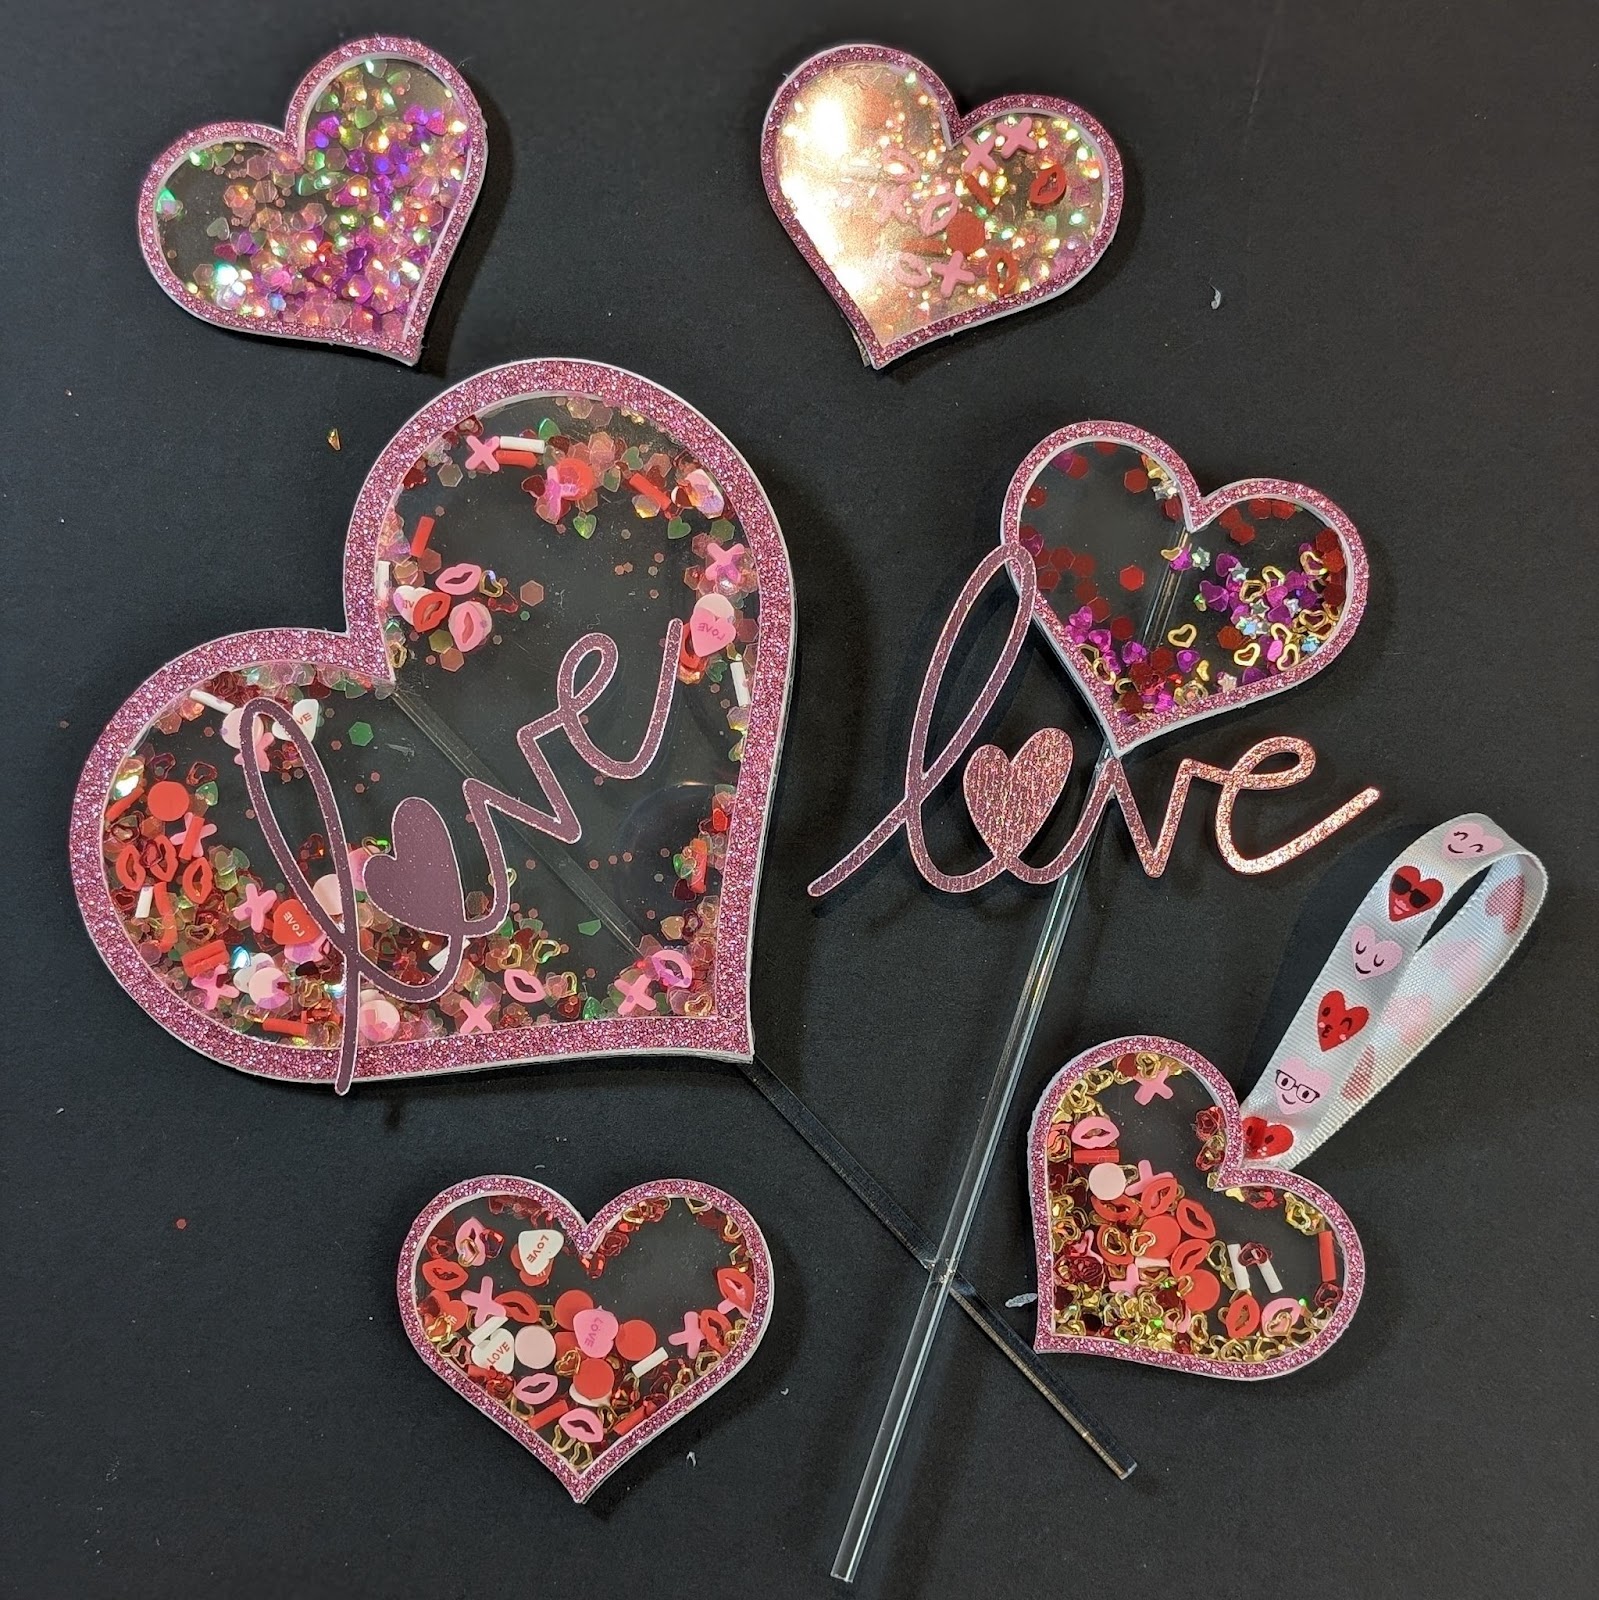
Step 4: Personalize if you’d like and Enjoy!
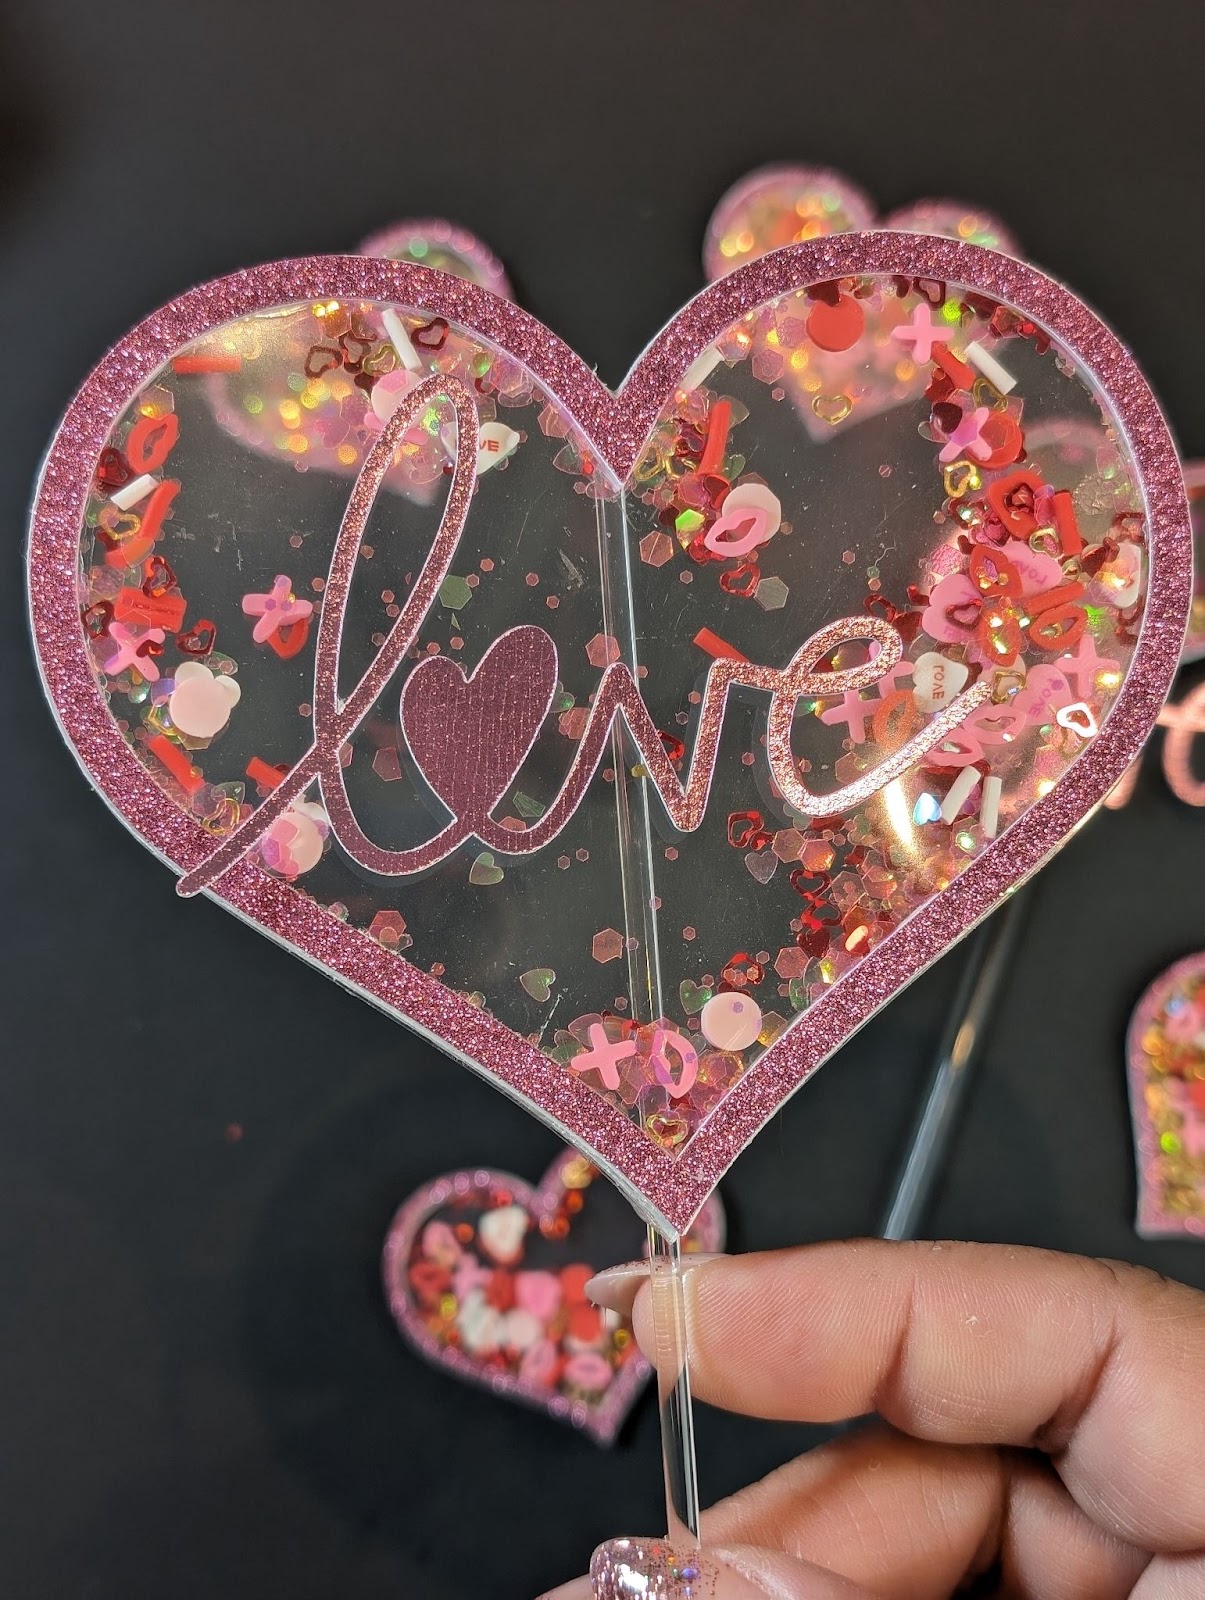
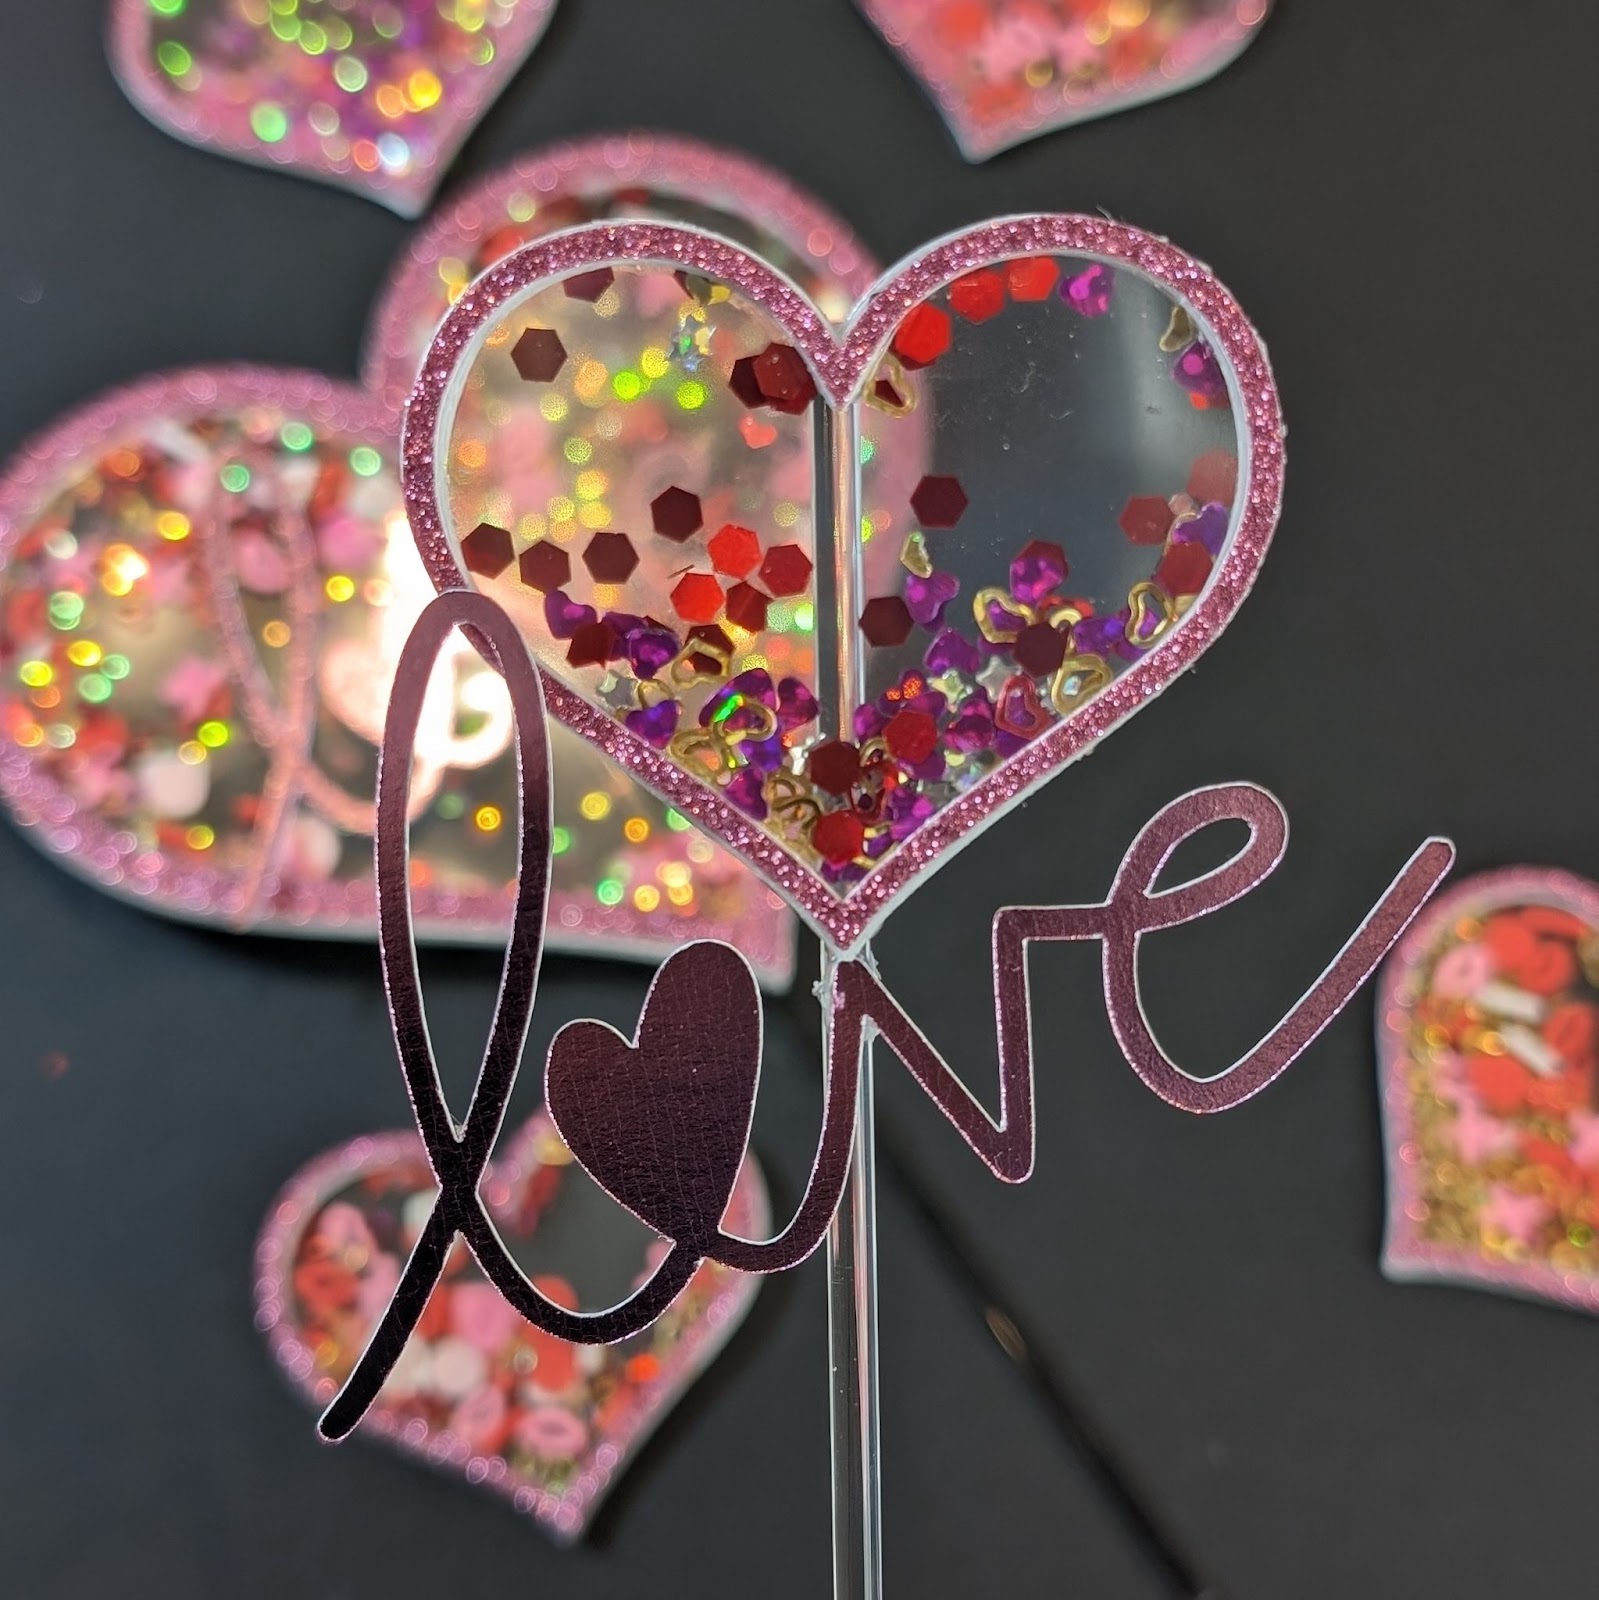
There you have it, your heart shaker is now complete and you can add a cake stick to the back of it (I would use a clear acrylic one like the one in the picture below) and you now have a cake topper or these mini ones can be used as cupcake toppers. You can also add additional embellishments or personal touches to your shaker hearts. Add some ribbon and a name to it and you have a name tag. You can write a heartfelt message, attach a ribbon, or further decorate them to suit the occasion, the possibilities are truly endless.
I think creating these shaker hearts with your Cricut machine is a fun and customizable way to express your creativity and share joy with others. Experiment with different colors, shapes, and shaker elements to make each heart uniquely yours. Enjoy the crafting process, and share the love by gifting these charming shaker hearts to friends and family.
P.s. these steps are the same steps I took to create the shaker champagne glasses, there are truly so many possibilities to make all things into a shaker 🙂
Happy crafting!